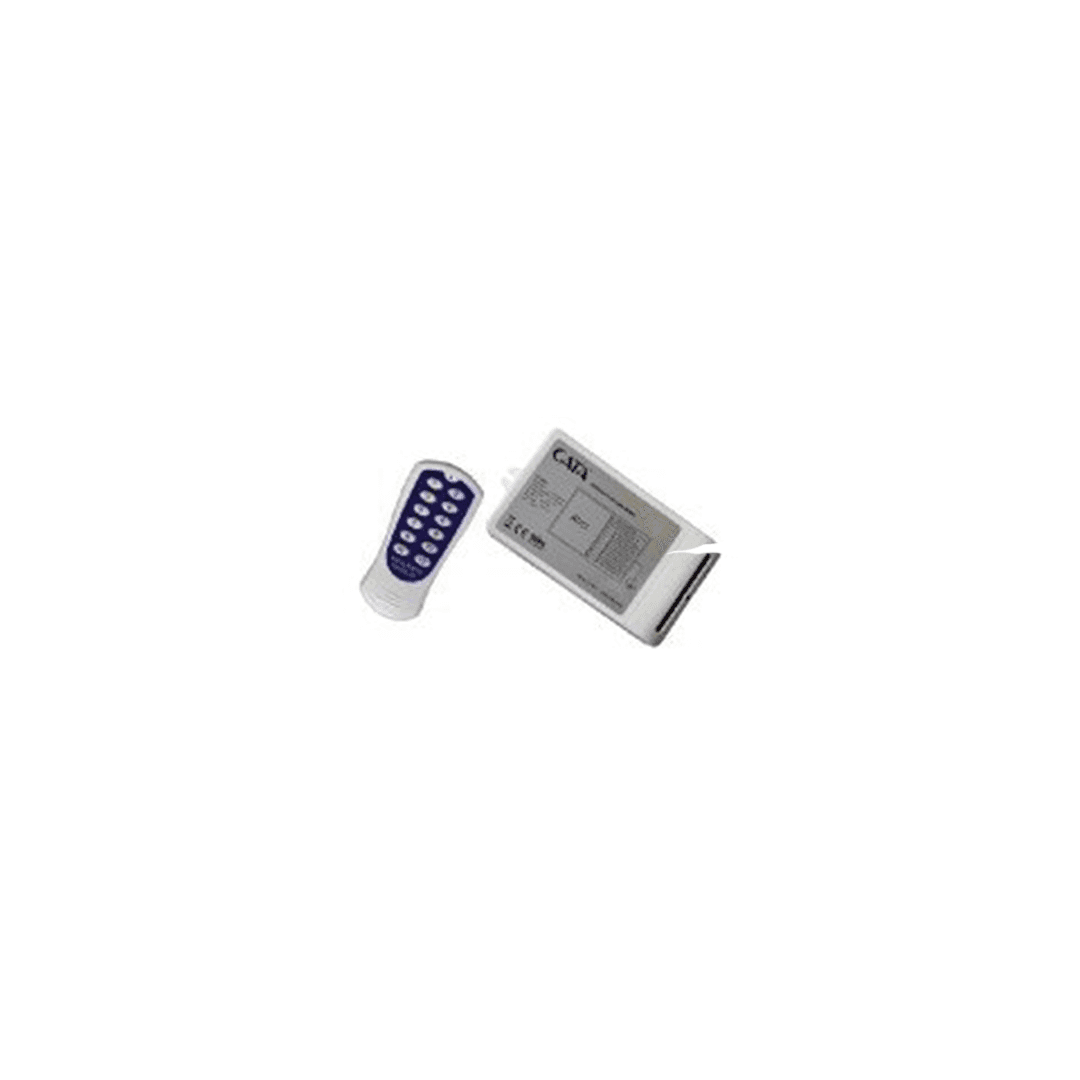
An LED strip system has three parts: the strip itself, the driver that feeds it, and the control unit that sits between the two. The first two are usually chosen with care and the third is left to the end — yet it is the only part the user touches every day. A badly chosen controller makes even a correctly installed system unusable: colours do not hold, dimming flickers, the remote does not work through the wall. This guide takes in turn the technical criteria to look at when choosing a control unit and the mismatches most often met in practice.
What does a remote do, and what does a dimmer do?
The two terms are used interchangeably in everyday speech, but they do different jobs. A dimmer changes brightness only: it turns the light of a single-colour strip down or up. A remote works together with a control unit and, alongside brightness, manages colour, the speed of colour change and stored scenes.
On a single-colour (mono) strip the only thing to be done is set the brightness; a dimmer is enough there, and fewer parts mean fewer points of failure. RGB, RGBW and tuneable white (CCT) strips need more than one channel driven, and that is the control unit's job.
The control unit is usually wired in series between the strip and the driver: the direct voltage from the driver enters the unit, and the unit switches that voltage channel by channel out to the strip. The unit's current capacity therefore has to be greater than the total power of the strip it will drive.
- Single-colour strip → a dimmer is enough, no control unit needed.
- RGB / RGBW / CCT strip → a control unit matching the channel count is essential.
- Unit capacity is chosen above the strip's total wattage.
- The order never changes: mains → driver → control unit → strip.
RF, infrared, Wi-Fi and Bluetooth: which goes where?
The control method is chosen by where the system is installed, not by technical superiority. An infrared (IR) remote needs a line of sight: if anything blocks the path between receiver and remote, the command does not arrive. If the strip is hidden inside a cove and the receiver has been buried with it, the remote will not work.
An RF remote works on radio frequency and sends its command through a wall, furniture or a plaster cove. In cove lighting, and in any installation where the receiver is out of sight, that is the right choice. The range is printed on the product label; a concrete wall shortens it markedly.
Wi-Fi units give phone control and stored scenes, and can join a home automation system. In exchange comes a dependence on the router: when the internet drops, control through the app drops with it. Most Wi-Fi units are therefore used alongside a physical remote or wall switch.
Bluetooth units need no router and are the easiest to set up, but their range is room-sized and generally only one user connects. Enough to run the strip in one room, not to run a whole house.
- Infrared: cheap and simple — but the receiver MUST be visible.
- RF: the standard for concealed installations; works through walls and coves.
- Wi-Fi: phone, scenes, automation — brings a dependence on the router.
- Bluetooth: one room, no router, the fastest to set up.
Voltage and channel matching is not negotiable
Two figures on a control unit's label decide everything: the operating voltage (usually 12V or 24V direct) and the channel count. Both must match the strip exactly.
Driving a 24V strip with a 12V unit leaves the light dim; the other way round, the strip is overdriven and LED life shortens fast. The voltage written on the unit must also be the same as the driver's output voltage — all three links of the chain speak one voltage.
The channel count determines the colour structure. Single colour needs one channel, tuneable white two, RGB three, RGBW four. Connect an RGBW strip to a three-channel unit and the white channel is never driven: the strip appears to work but the white light never comes on, and days go missing hunting for a fault.
Addressable (pixel / digital) strips are a separate class: they use a data line that drives each LED individually and do not work with a classic RGB control unit. If the strip's box says "addressable", "digital" or names a chip, a matching controller has to be sought.
- Voltage: driver, unit and strip — all THREE at the same value.
- Channels: mono 1 · CCT 2 · RGB 3 · RGBW 4.
- A missing channel gives no error — that colour simply never lights.
- An addressable strip will not work with a classic RGB unit.
The dimming method and the flicker problem
LED dimming is mostly done by pulse width modulation (PWM): the unit switches the strip on and off very fast and the eye reads it as continuous light. The dimming ratio is the proportion of time it stays on.
A visible consequence of this method can be flicker. If the modulation frequency is low, the light may look steady but bands appear on camera and fatigue builds in people working under it for long periods. In areas used for long stretches — offices, desks, children's rooms — high-frequency units are preferred.
The second common problem is connecting a mains-side wall dimmer to an LED driver. Classic phase-cut wall dimmers were designed for incandescent bulbs; placed in front of a constant-voltage LED driver they produce humming, uneven dimming and driver failure. In an LED system, dimming is done AFTER the driver — that is, on the direct-voltage side.
- In areas looked at for long periods, choose a high PWM frequency.
- Dimming is done AFTER the driver, not on the mains side.
- If a wall dimmer is to be used, the driver must be dimmable.
- Humming and uneven dimming are the first signs of a mismatched dimmer.
The four commonest installation mistakes
The first is burying the receiver where it cannot be reached. If an infrared receiver goes inside a cove, the remote will not work once the system is installed and it cannot be put right without opening the plaster. If infrared is chosen, the receiver is left somewhere visible; if you do not want it seen, choose RF from the start.
The second is choosing capacity to the edge. In a system driving 100 watts of strip, a 100-watt unit runs permanently at its limit and heats up. Leaving roughly twenty per cent headroom lowers both the temperature and the failure rate.
The third is feeding a long strip from one point. As the strip lengthens the voltage drops and the far end stays dim; in colour systems that turns into a colour shift. On long runs, feed from both ends or split the run.
The fourth is shutting the control unit inside a closed, unventilated box. The unit produces heat; a unit that cannot shed it goes into protection mode and the light goes out by itself. Service access has to be thought of too — the part that fails is the one you can get to.
- For a concealed installation, choose RF as the control method.
- Take unit capacity about 20% above the total power.
- On a long strip, feed from both ends.
- Put the unit somewhere ventilated that can be reached later.
Control methods compared
| Control method | Works through an obstacle | Setup | Typical use |
|---|---|---|---|
| Infrared (IR) | No — needs a line of sight | Simplest | Single installations where the receiver can be seen |
| RF (radio frequency) | Yes | Simple | Inside coves and concealed lighting |
| Wi-Fi | Yes | Needs router setup | Scenes, scheduling, home automation |
| Bluetooth | Partly — room scale | Fastest | One room, no router |
Related guides: Cove Lighting: What is it and How is it Done?, IP Ratings for LED Fixtures: Bathroom, Kitchen and Outdoors, LED Strip Selection Guide: How to Choose the Right LED Strip?, Choosing an LED Driver and Dimmer: A Practical Guide. For product options for your project, see our LED Remotes & Controllers page.