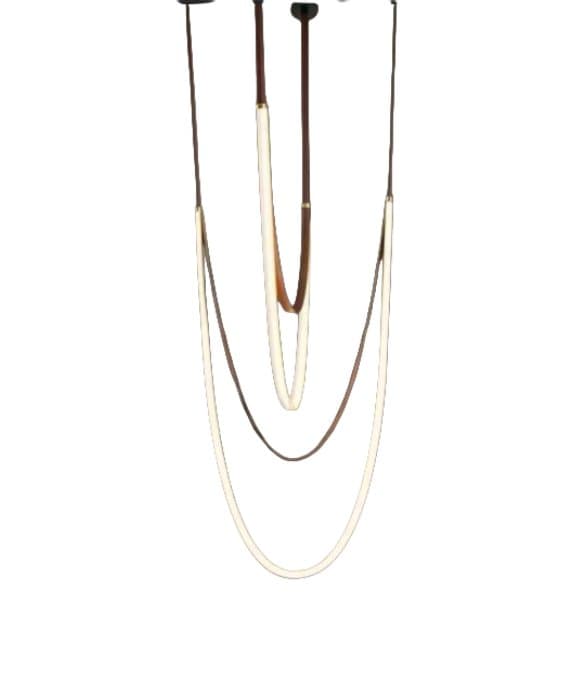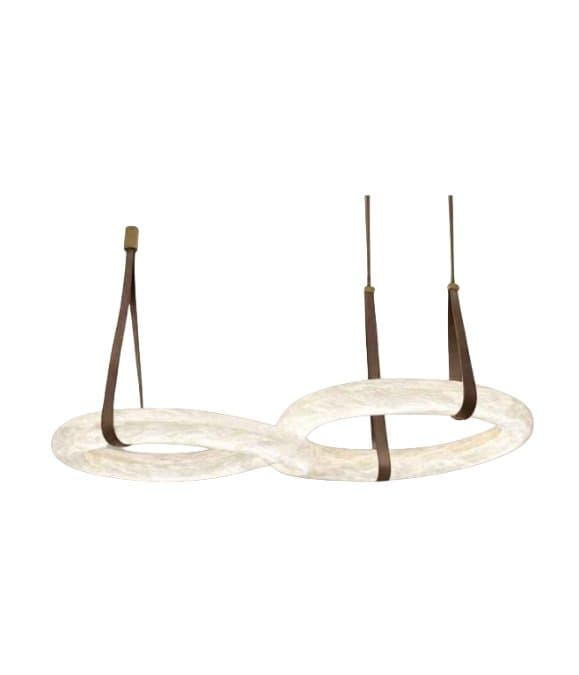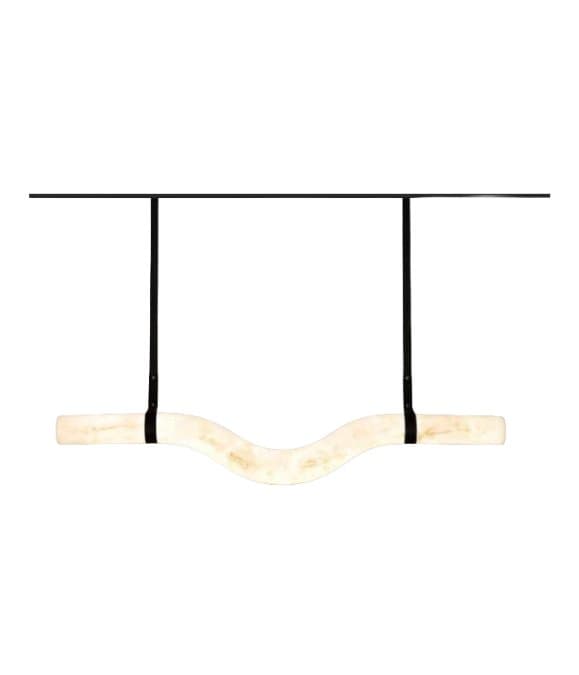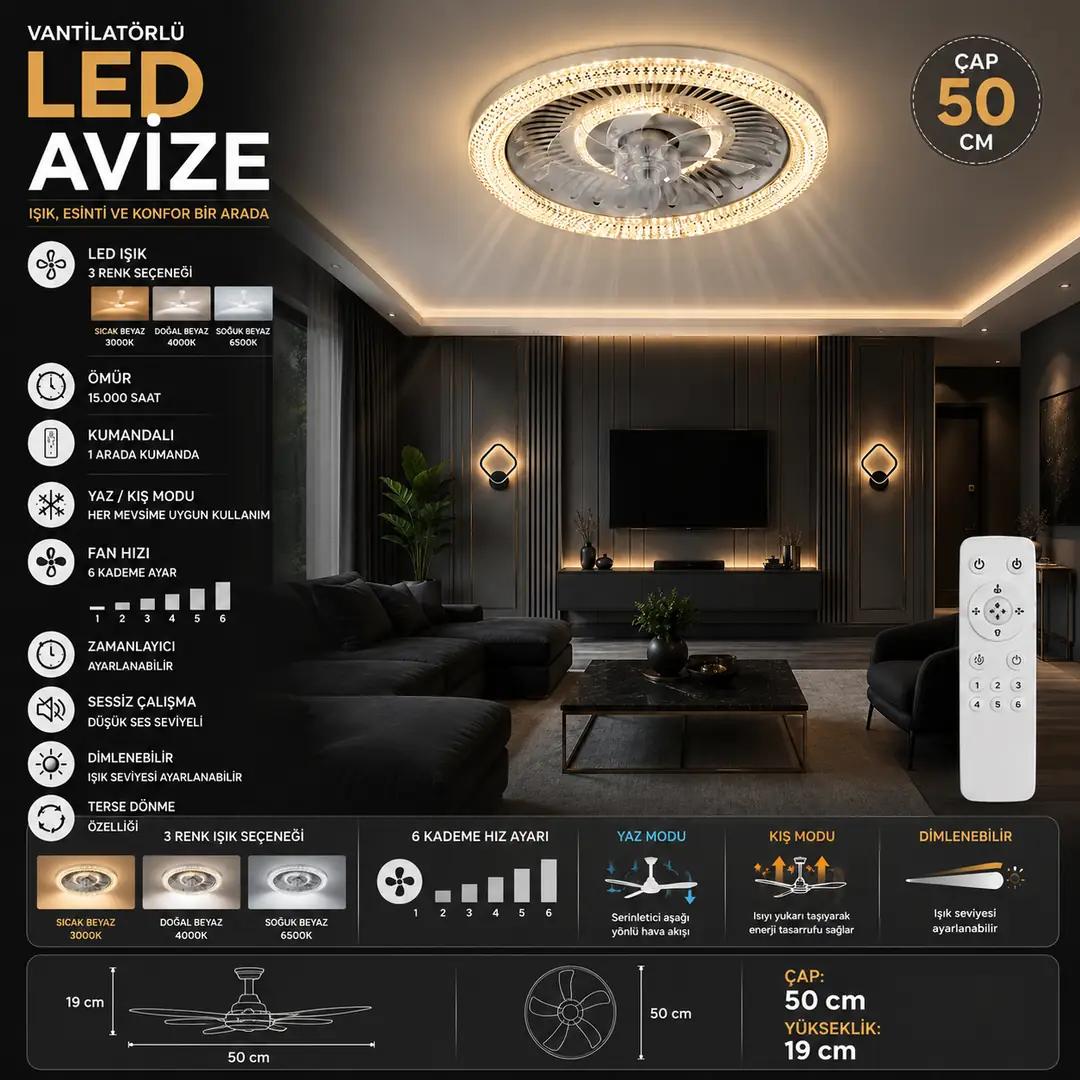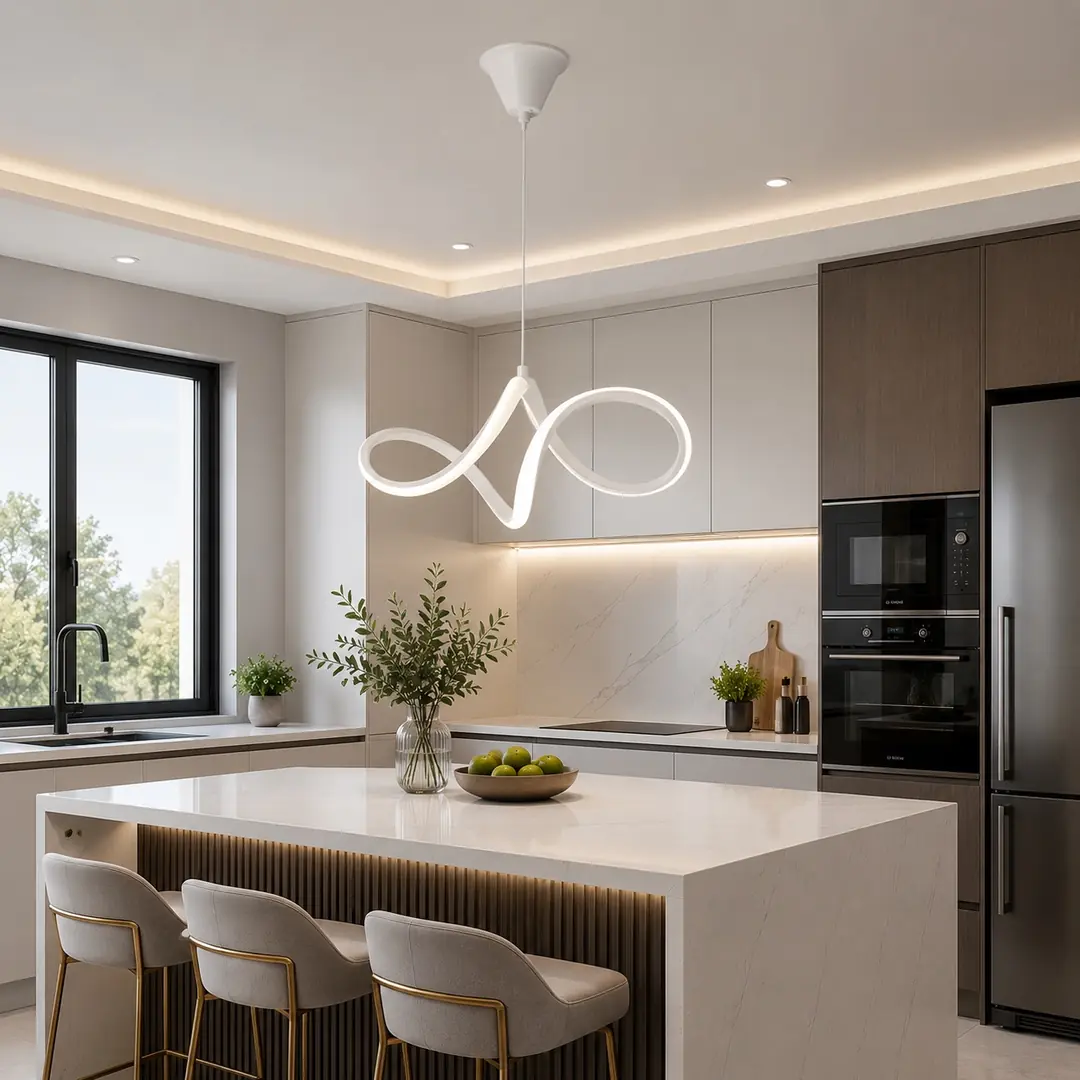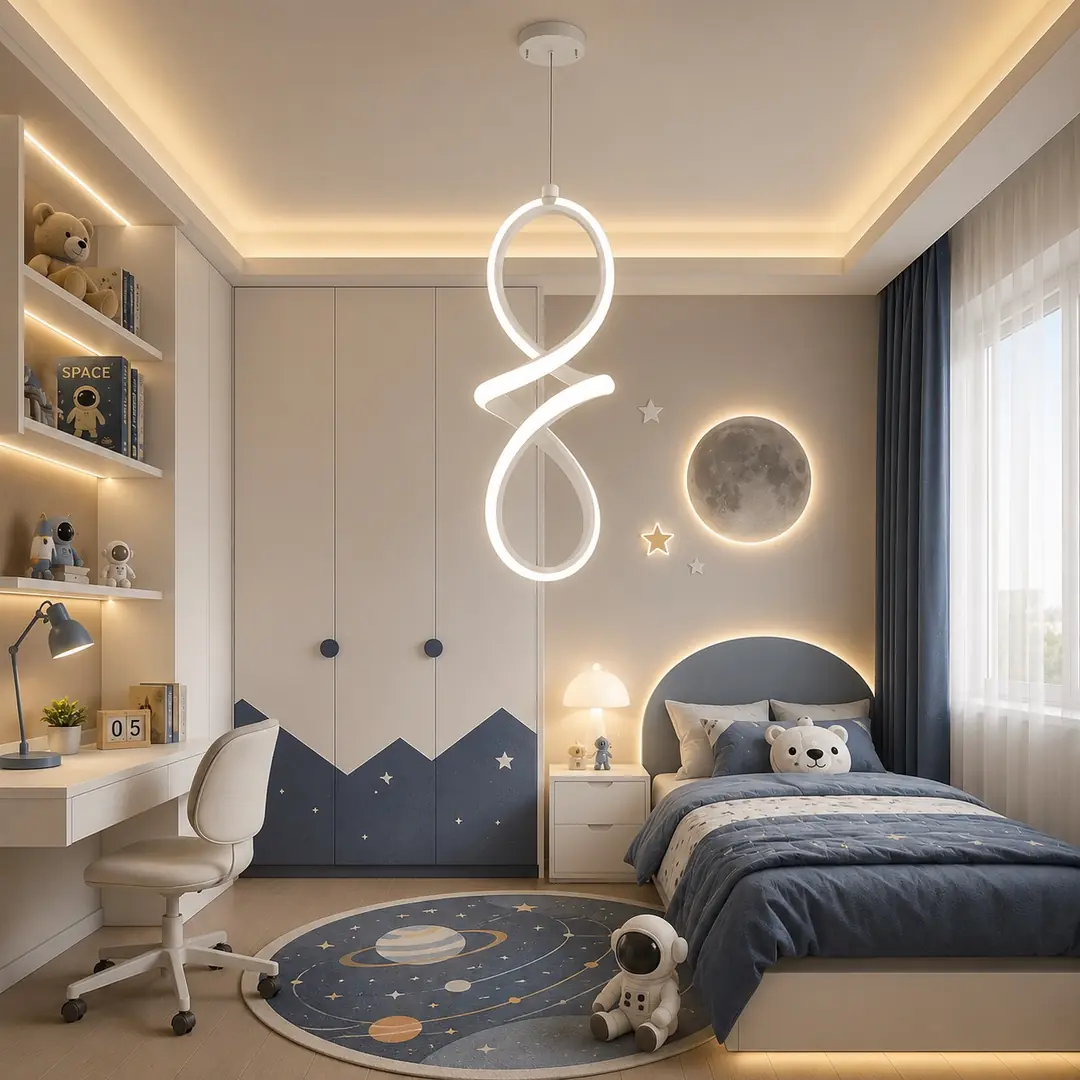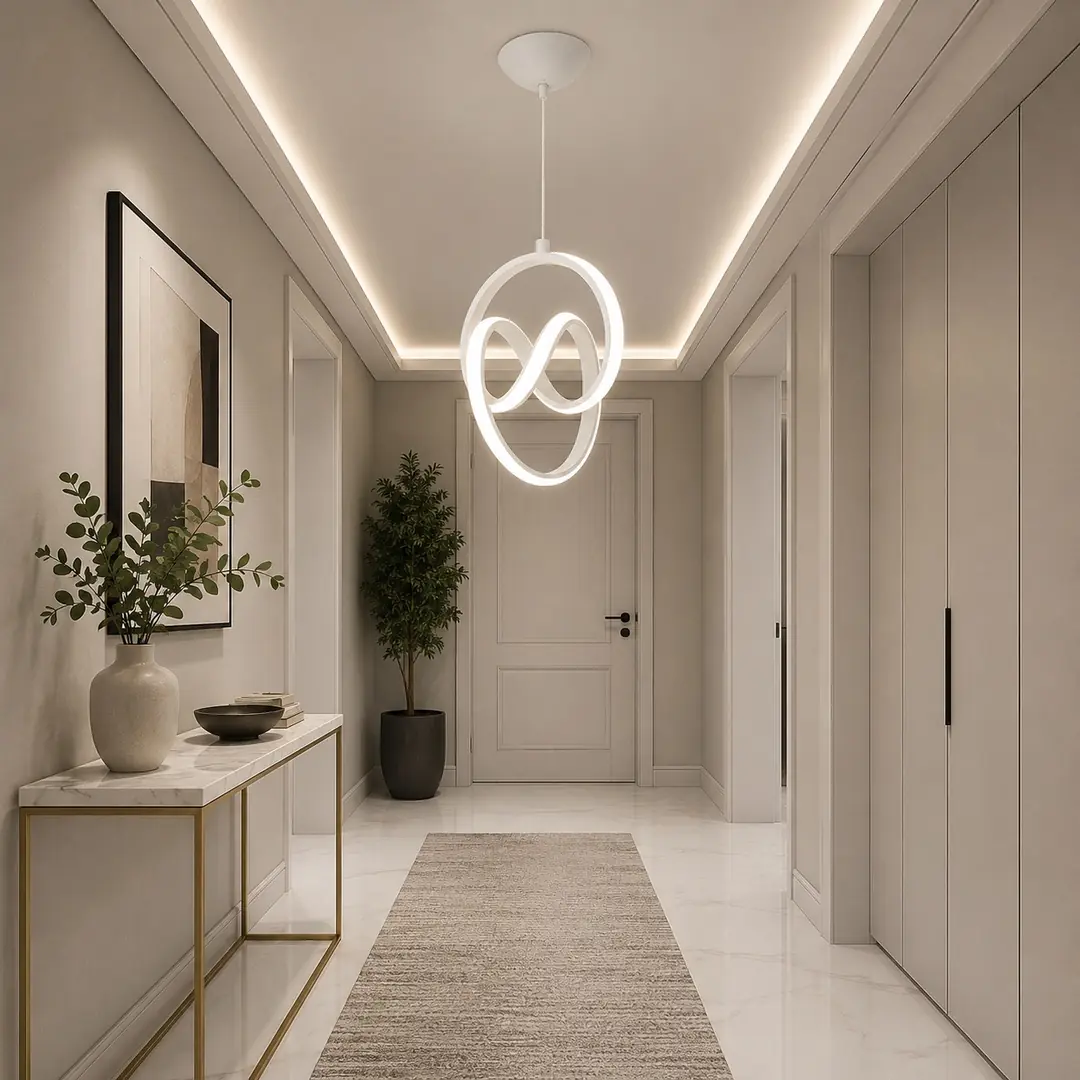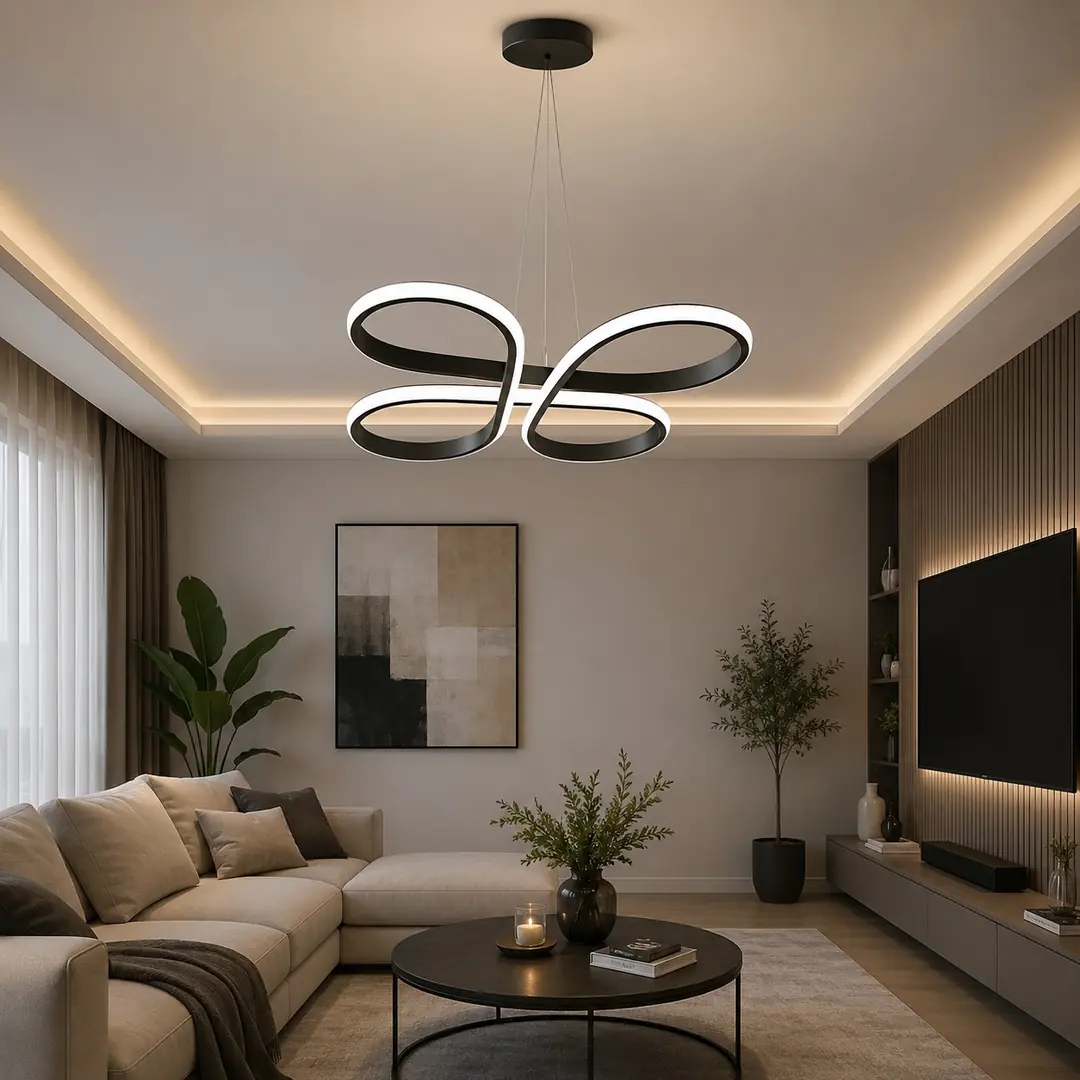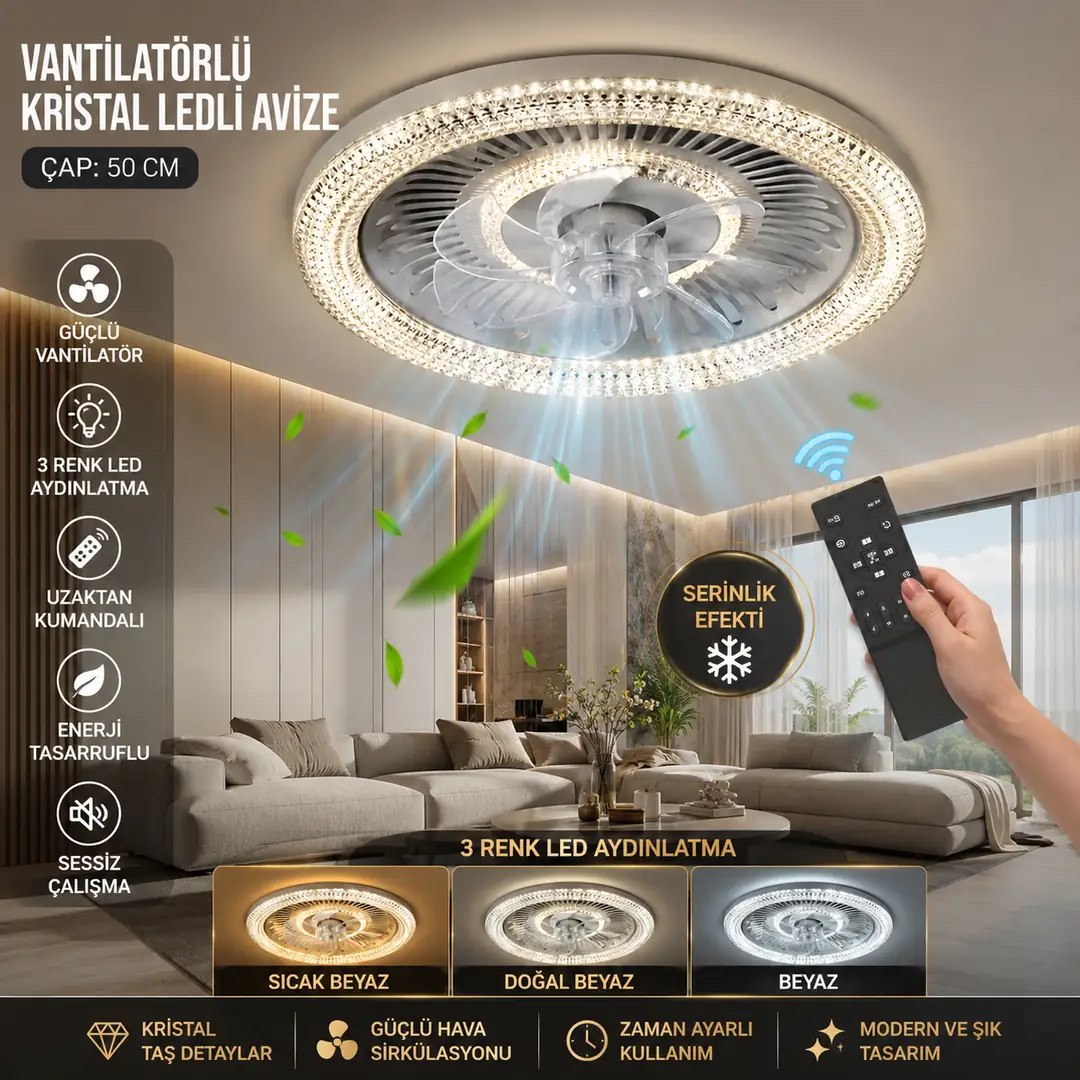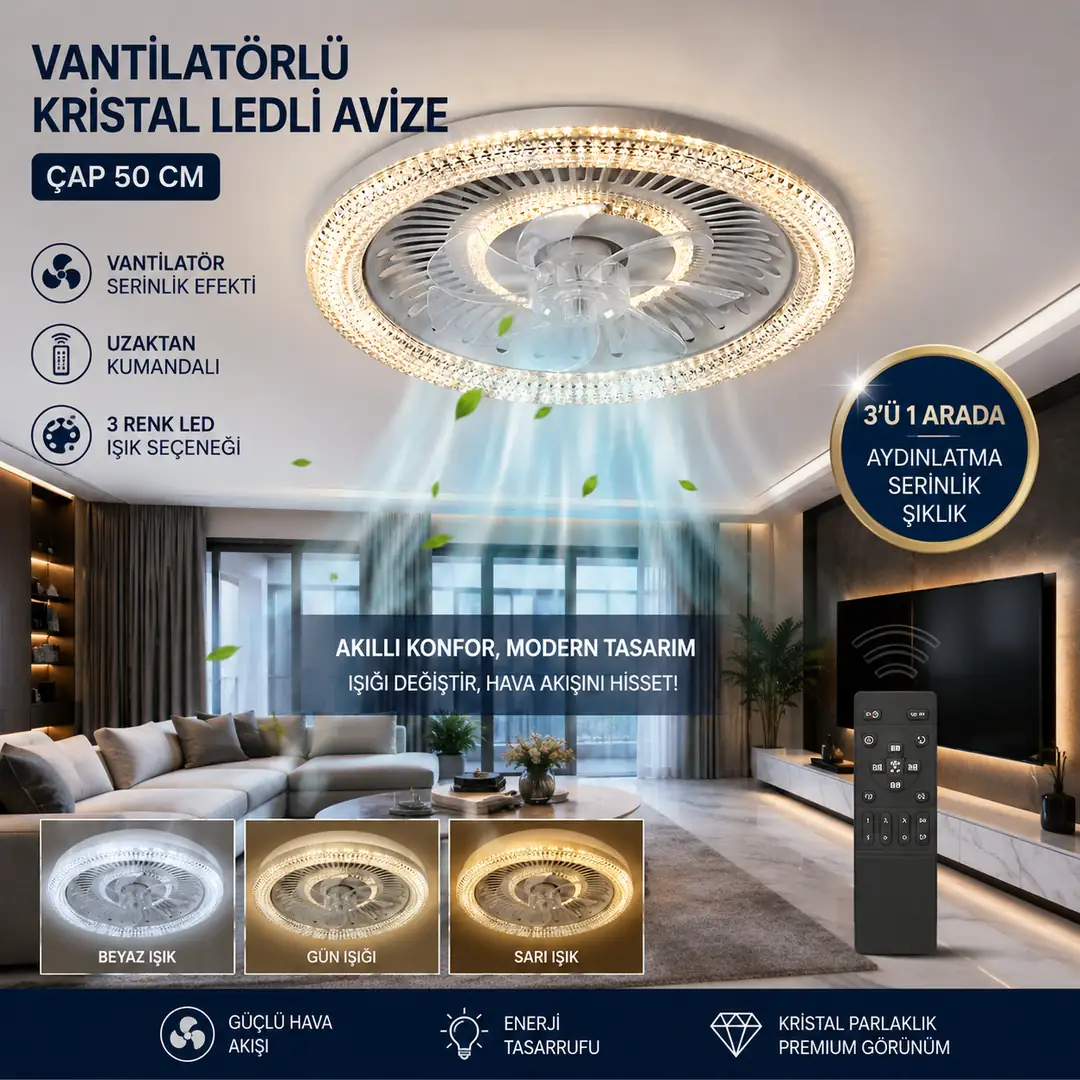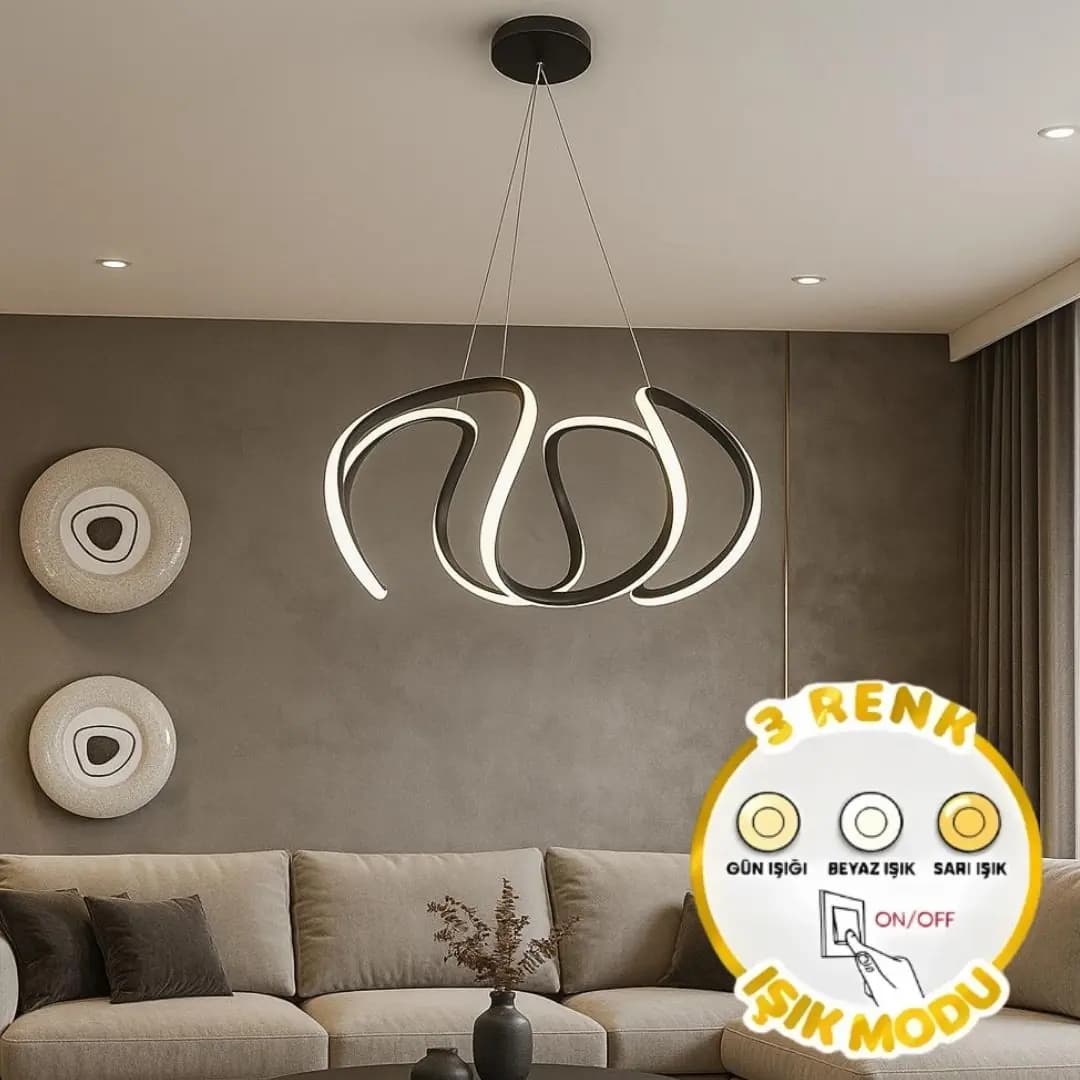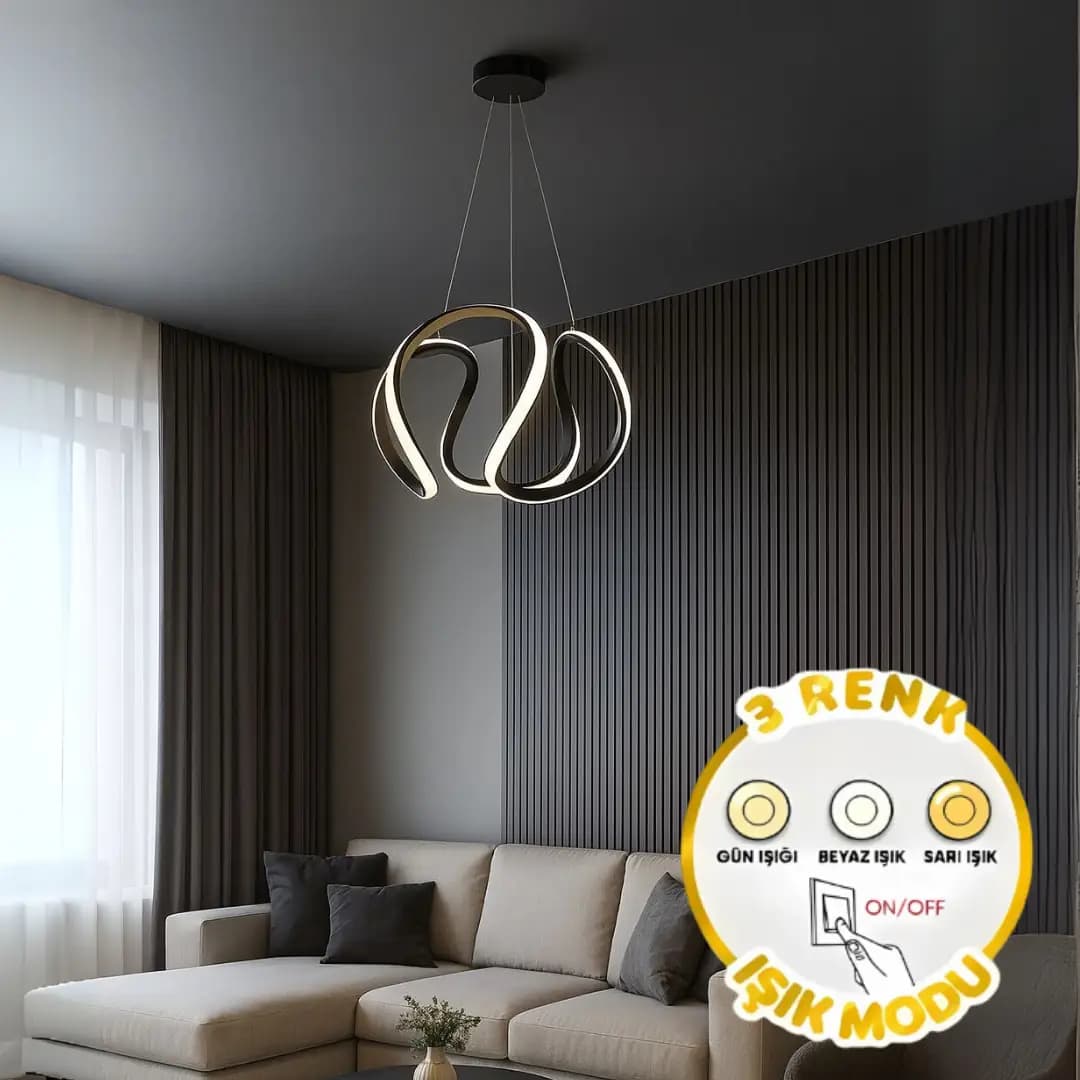

A chandelier is the piece people look at most in a room and the one that is hardest to replace. Liking a model is easy; the real decision is whether that model is the right size for your room. The same fixture looks generous in a four-metre living room and becomes an obstacle you duck under in a bedroom with a ceiling of two and a half metres. This guide ties the choice to measurement before it ties it to taste: the diameter comes from the room size, the drop from the ceiling height, the material from how the room is used, and the fixing method from the mounting conditions. Each section ends with a single decision criterion — apply it, and hundreds of models narrow down to a handful on their own.
Diameter: the size of the room gives you an upper limit
The first question about a chandelier is not colour or model, it is size. A fixture that is too small for the room leaves the ceiling empty and disappears in the middle of the space; one that is too large pulls the eye down, narrows the walkway and upsets the proportions of the room. That is why measuring the short and long sides of the room with a tape before you open any product list narrows the options by itself.
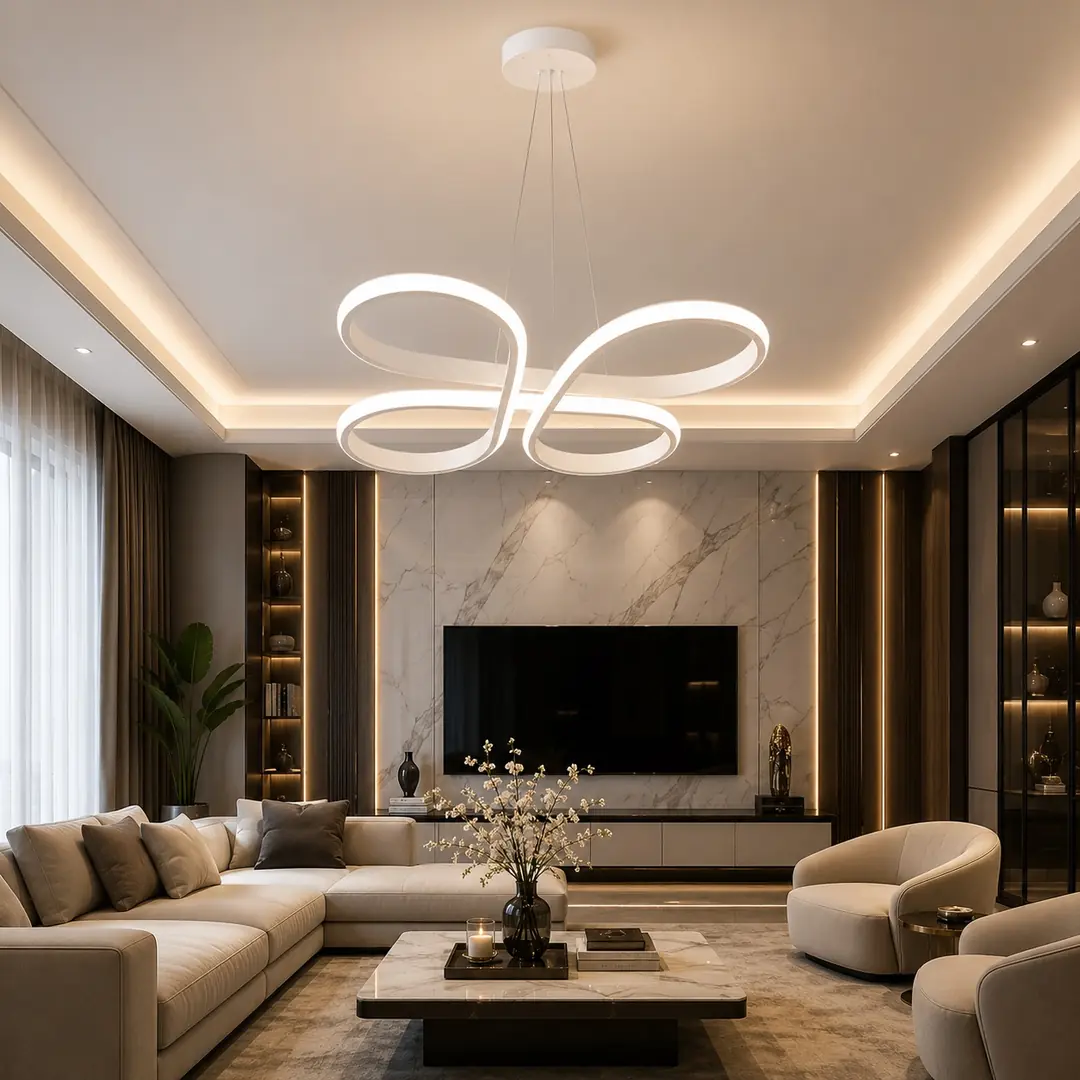
The common rule of thumb is this: add the short and long sides of the room in metres and read the result as centimetres. A living room of four by five metres gives nine; roughly ninety centimetres of diameter is a reasonable upper limit for that room. This is a design habit, not a measured law — ceiling height, how densely the room is furnished, and the shape of the fixture all shift the result noticeably.
It is safer to read the rule as a ceiling rather than a target. In a densely furnished room, one with a low ceiling, or an open-plan space shared with other fixtures, staying under that limit almost always looks more balanced. Conversely, in a tall, empty volume even the limit can look small; there the criterion is not the diameter alone but the volume the fixture occupies.
Once you have the diameter you need a second measurement: the overall height of the fixture. Of two models with the same diameter, one may be broad and flat and the other tall — and the two will look completely different in the same room. Read the diameter and height figures in the product description together.
- Short side + long side (in metres) → read the sum as centimetres; that is roughly your maximum diameter.
- In densely furnished rooms with low ceilings, stay under that limit.
- Measure and compare the overall height of the fixture alongside the diameter.
- In an open plan with several fixtures, each one is scaled to its own zone.
Above the dining table: width and height above the surface
The dining table is where chandelier dimensions become clearest, because here the fixture lights a specific surface rather than a room. The widely accepted measure is that the width of the fixture should be about one third of the table width. Above a table ninety centimetres wide, a fixture around thirty centimetres looks balanced; as the table gets wider you either increase the diameter or replace the single fixture with several pendants.
The second measurement is height: the bottom edge of the fixture sits roughly seventy to eighty centimetres above the tabletop. That range is high enough for two people sitting opposite each other to make eye contact, and low enough to light the table. Higher, and the light spills past the table and the surface stays dull; lower, and the fixture cuts across the line of sight and causes glare.
Over long tables, two or three pendants give a better result than a single chandelier. In that case the fixtures are placed along the centre line of the table, evenly spaced and set in from the ends. A pendant too close to the end hangs directly over the head of whoever sits there.
Do not leave the measurement on paper. Marking the diameter and the bottom-edge height above the table with a piece of string or a cardboard template before ordering is the cheapest test available — and it catches a wrong size before installation.
- The width of the fixture is about one third of the table width.
- The bottom edge sits roughly 70–80 cm above the tabletop.
- Over a long table use several evenly spaced pendants rather than one large fixture.
- Test the diameter and height with a template over the table before ordering.
Ceiling height: drop length and the low-ceiling decision
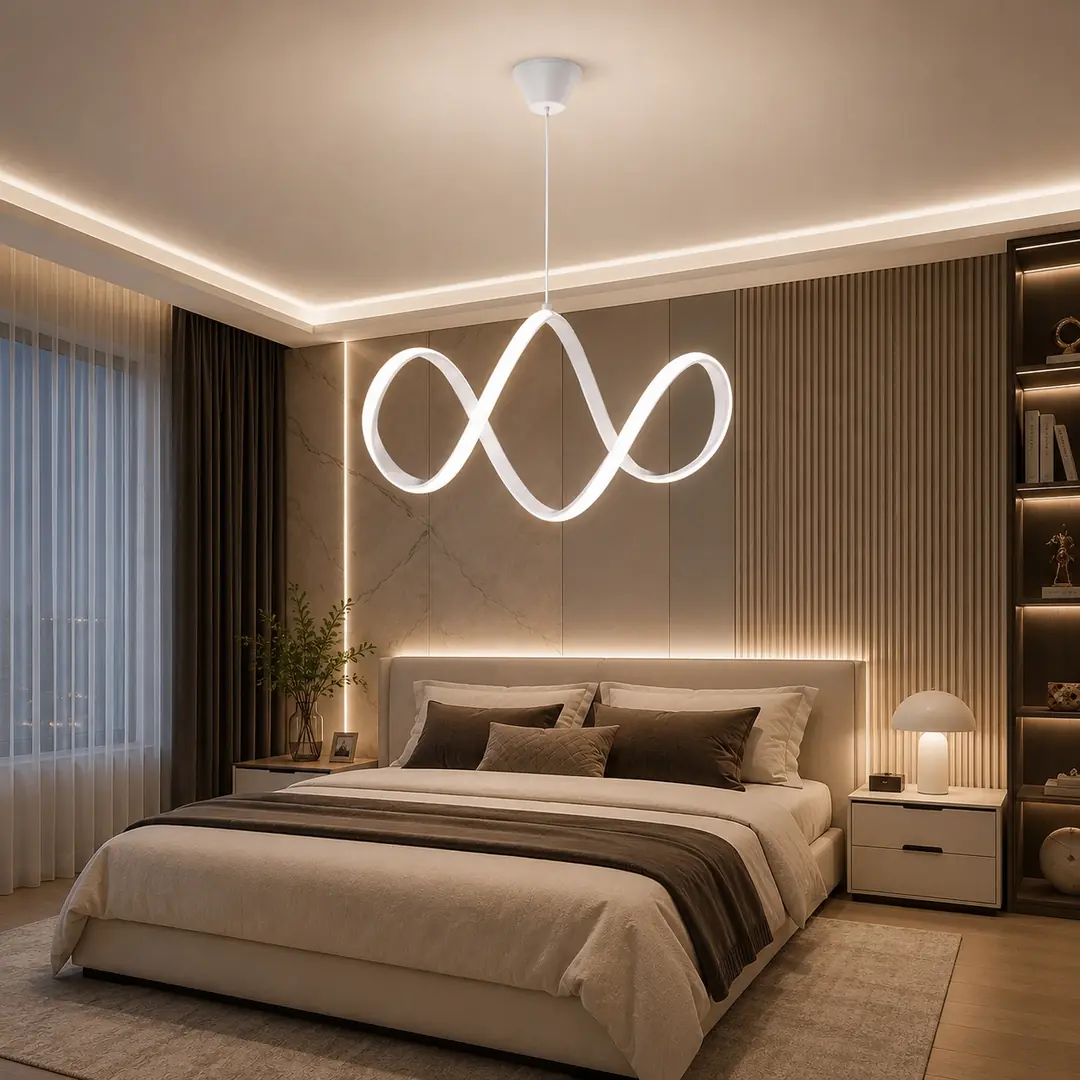
After the diameter, ceiling height is the most decisive measurement, and it answers a single question: where does the bottom edge of the fixture end up? At every point people walk under — the middle of the living room, a hallway, an entrance hall, a staircase — the bottom edge has to sit high enough for a head to pass comfortably. In practice that means not dropping below about two metres ten above the floor.
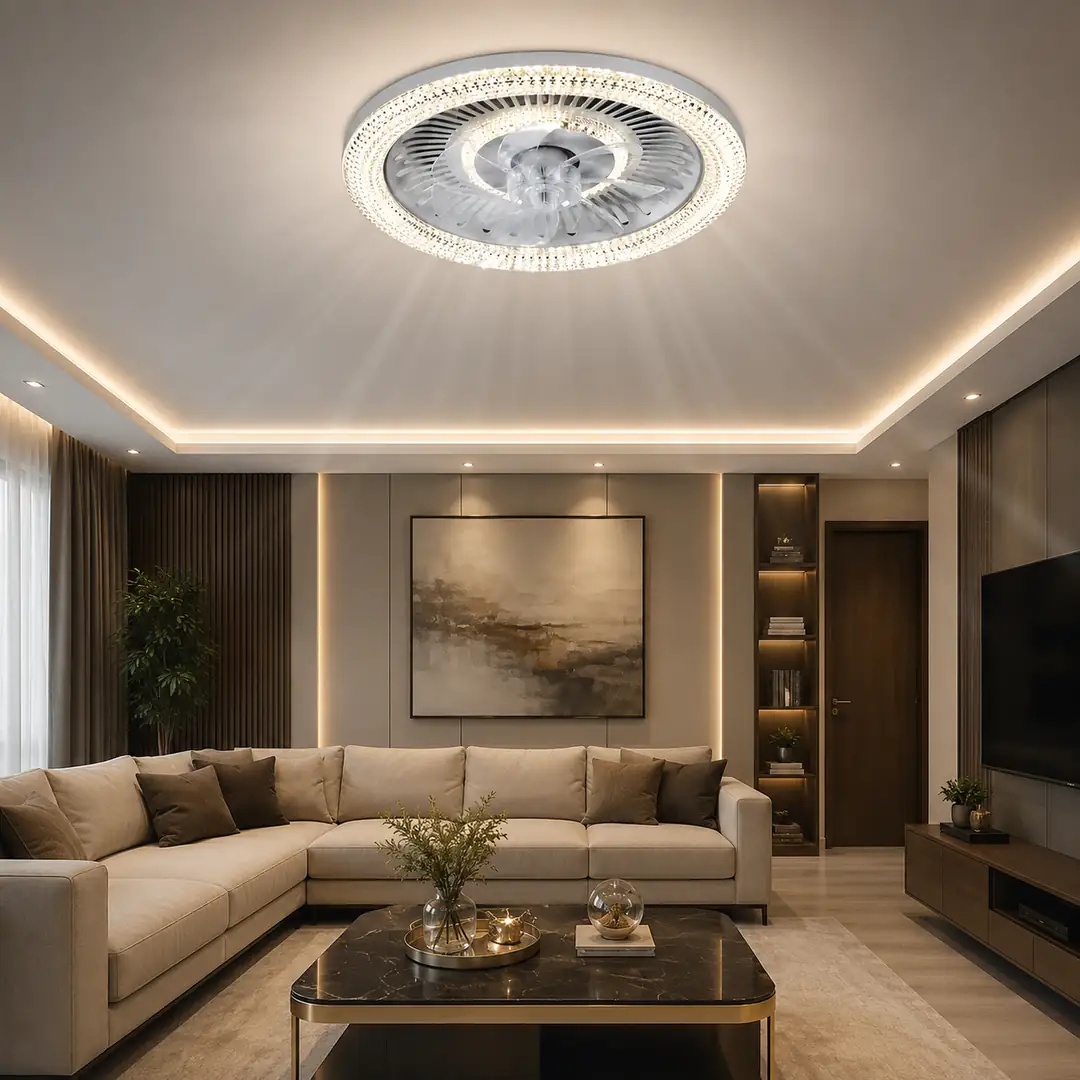
At the usual ceiling heights of two metres forty to two metres fifty, that condition uses up the available drop quickly. Very little room is left, and a chandelier with a long body can neither be hung there nor look right. With a low ceiling the correct answer is usually a flush or semi-flush ceiling fixture: the same light, without eating into the volume or blocking the walkway.
With high ceilings the opposite applies. The taller the ceiling, the longer the drop; otherwise the fixture looks forgotten up there and the volume below stays dark. At points nobody walks under — the centre of a living room, a dining area — the drop can be extended more freely, because the head-clearance condition does not apply.
Whether the suspension is adjustable is a detail worth checking at the point of purchase. Models with a shortenable chain or cable can be used at different ceiling heights; a rigid body offers no such flexibility, and after a move the fixture may not fit your new home.
- At every walk-under point, the bottom edge stays about 2.10 m above the floor.
- At a ceiling of 2.40–2.50 m, a flush ceiling fixture is usually a better answer than a pendant.
- The higher the ceiling, the longer the drop; a fixture hung too short darkens the volume.
- Models with an adjustable drop adapt better to moving house and renovation.
Stairwells and entrance halls: the multi-storey chandelier
The stairwell is where a chandelier is used most impressively and most riskily. Because the fixture reads across two floors at once, its size grows and the mounting height cannot be set from a single line. The decisive criterion is this: the bottom edge must leave safe head clearance above every step and every landing people pass under. The calculation is made against the lowest point, not the average.
The second criterion is visibility. If there is a window in the stairwell, aligning the centre of the fixture with the centre of the window gives a balanced view from inside and from outside. Without a window, the height is set by the eye looking down from the upper landing: the fixture has to read as a whole from above too, not only from below.
In an entrance hall the dimensions shrink but the condition tightens. A hall is a narrow passage; the fixture has to preserve head clearance and stay out of the swing of the front door. If the opening door touches the fixture, it is not the model that is wrong but the position — and that is one of the hardest mistakes to correct after installation.
With tall, multi-tier fixtures, plan cleaning access from the start. Working out how you will dust a fixture hanging across two floors is far easier before installation than after. Some models include a lowering mechanism that brings the body down; the product description says so.
- The bottom edge is calculated against the lowest step — not the average floor level.
- If there is a window, the centre of the fixture is aligned with the centre of the window.
- In an entrance hall the swing of the door is checked before installation.
- Cleaning access is planned BEFORE installation; solving it afterwards is expensive.
Material: appearance, weight and cleaning are chosen together
Material determines not only appearance but also weight and maintenance. Crystal and glass refract light, scatter sparkle and give the most striking result; in return they are heavy, fragile and need cleaning piece by piece. They belong in rooms that stay clean and have enough ceiling height — living rooms and dining areas.
Acrylic and similar rigid plastic bodies are light, do not break and make installation easier — with plasterboard ceilings that is a direct advantage. Their surfaces are prone to scratching, though: abrasive sponges, thinners and alcohol-based cleaners dull them permanently. A damp cloth and mild detergent are enough.
Metal bodies are durable and give a room character through the colour of the finish; wipe them with a dry, soft cloth. In damp rooms the quality of the finish matters more, because corrosion starts at the coating. Wood looks warm but reacts to changes in humidity and temperature; it is not a first choice for bathrooms and open balconies.
Rattan, wicker and woven bodies filter the light and cast a soft pattern of shadow. They are light and hang easily from plasterboard ceilings, but they collect dust. Clean them with a soft brush or the brush head of a vacuum cleaner rather than a wet cloth; wet cleaning opens the fibres and deforms them permanently.
- Crystal and glass: the brightest result, the heaviest body, the most maintenance.
- Acrylic: light and unbreakable — never use abrasives or solvents.
- Wood and wicker are materials for dry rooms; not suitable for bathrooms or open balconies.
- Product weight determines the ceiling fixing — look at the weight before the model.
Replaceable lamps or integrated LED?
On this point chandeliers fall into two families. In the first there are lamp holders and you choose the lamp yourself; in the second an LED module is built into the body and there is no separate lamp. The difference shows up not at purchase but a few years later — which is exactly why the question belongs at the moment of decision.
Among models with holders, the three most common types are E27, E14 and G9. E27 is the classic large screw base, E14 the narrow screw base, and G9 a compact pin base. The holder type and maximum wattage are printed on the product label; the lamp you buy must not exceed that limit. The advantage is obvious: you replace a lamp when it fails, you can change the colour temperature later, and by choosing a dimmable lamp you can make the system dimmable.
Integrated LED models allow slimmer, more unified designs, because they do not have to hide a lamp body. At end of life the question changes: can the module be replaced, are spare parts available? If not, the life of the fixture equals the life of the LED module. That alone is not a reason to rule a product out, but it is something to know when buying.
Dimmability is verified separately in both families. For a fixture to be dimmed, both the light source and the dimmer used have to support it. If dimmability is not stated in the product description, do not assume it — an incompatible dimmer produces flicker, buzz and early failure.
- Holder type (E27 / E14 / G9) and maximum wattage are on the label; that limit is not exceeded.
- Lamp replaceability is the simplest guarantee of long service.
- With integrated LED there is one question: can the module be replaced at end of life?
- Dimming requires both the light source and the dimmer to support it.
Light output: is a chandelier enough on its own?
A chandelier is a light source as much as a decorative piece, but in most rooms it cannot carry the whole lighting scheme alone. The first reason is distribution: the light comes from the centre of the ceiling, and the larger the room, the darker the corners and the base of the walls stay. Even when the total light output is sufficient, its distribution is uneven.
The second reason is shadow. Light from a single point produces hard shadows; when you are reading, preparing food or working, those shadows get in the way directly. That is why the chandelier takes on the ambient lighting while task lighting is built with separate fixtures: a reading lamp, a wall light, a floor lamp or an under-cabinet strip.
The numerical value of the requirement is measured in lumens, not watts. Calculating the total lumens needed for the floor area and assigning part of it to the chandelier and the rest to secondary sources is both more comfortable and more economical than over-specifying a single fixture. One excessively powerful source raises the light level while lowering comfort.
- A chandelier is ambient lighting; it does not replace task lighting.
- Light requirement is calculated in lumens, not watts.
- Loading the whole requirement onto one fixture produces hard shadows and glare.
- Fill corners and the base of walls with secondary sources.
Installation: weight, ceiling construction and electrical work
Installing a chandelier is really a question of where its weight is transferred. In a reinforced concrete ceiling, a plug and hook of the right diameter is enough for most products; as the weight rises, the load capacity of the fixing is chosen clearly above the weight of the product. A fixing chosen at the margin survives the first day without trouble and works loose over the years.
A suspended plasterboard ceiling is a separate case — and this is where the most common mistake happens. A plasterboard sheet is a cladding, not a structure; hang a heavy chandelier directly from the board and it will tear out over time. The correct solution transfers the load to the supporting profile behind the board, or directly to the structural ceiling. This is planned before the suspended ceiling is closed up — solving it afterwards is both difficult and costly.
Electrical connection is made by a competent person with the circuit breaker switched off. The soundness of the junction box, the cable cross-section and the earthing are less visible than the fixture itself but more decisive. With heavy, multi-part models, installation is usually a two-person job.
Finally, count the parts as soon as you open the packaging. With chandeliers that have crystal or glass elements, noticing a missing or damaged part halfway through installation costs both time and labour. The parts list is in the instruction manual.
- The fixing is chosen with a load capacity clearly higher than the product weight.
- On a plasterboard ceiling the load goes to the supporting profile or the structural ceiling, not the board.
- Electrical connection is made with the breaker off, by a competent person.
- Count the parts and check for damage before installation.
Chandeliers compared by material
| Material | Weight | Cleaning | Suitable room |
|---|---|---|---|
| Crystal | High | Piece by piece, damp cloth then dried | Living room, dining area, high ceilings |
| Glass | Medium – high | Lukewarm soapy water, then dried | Living room, bedroom, dining area |
| Acrylic | Low | Damp cloth — no solvents or abrasives | Plasterboard ceiling, children's room, hallway |
| Metal | Medium | Dry soft cloth | Living room, entrance hall, kitchen |
| Wood | Medium | Dry cloth — keep away from moisture | Dry rooms; not bathrooms or open balconies |
| Rattan and wicker | Low | Soft brush or vacuum brush head | Living room, bedroom, enclosed terrace |
Related guides: IP Ratings for LED Fixtures: Bathroom, Kitchen and Outdoors, Ceiling Lighting Types: Spot, Linear, Cove Lighting, and Chandelier, Choosing a Wall Light: Up-Down, Wall Washer and IP Rating, Choosing an LED Bulb: Base Type, Watts, Lumens and Colour Temperature. For product options for your project, see our Chandeliers page.