Styrofoam ceiling covering is a popular decorative solution used to give spaces an aesthetic appearance and also offer practical benefits. These lightweight panels, typically made from EPS (expanded polystyrene) foam, can be easily mounted onto existing ceiling surfaces with special adhesives. In this guide, we will delve into what styrofoam ceiling covering is, the advantages it offers, and how to apply it step-by-step.
What Exactly is Styrofoam Ceiling Covering and Why is it Preferred?
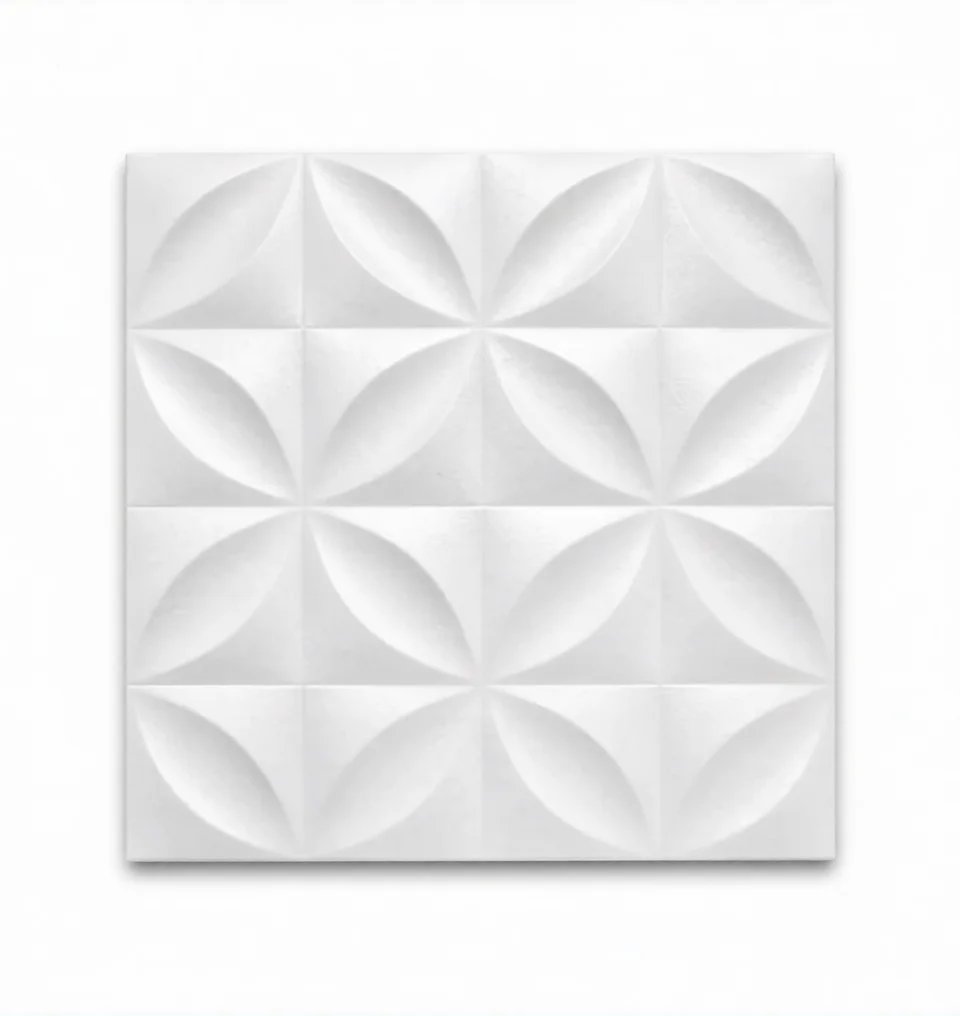
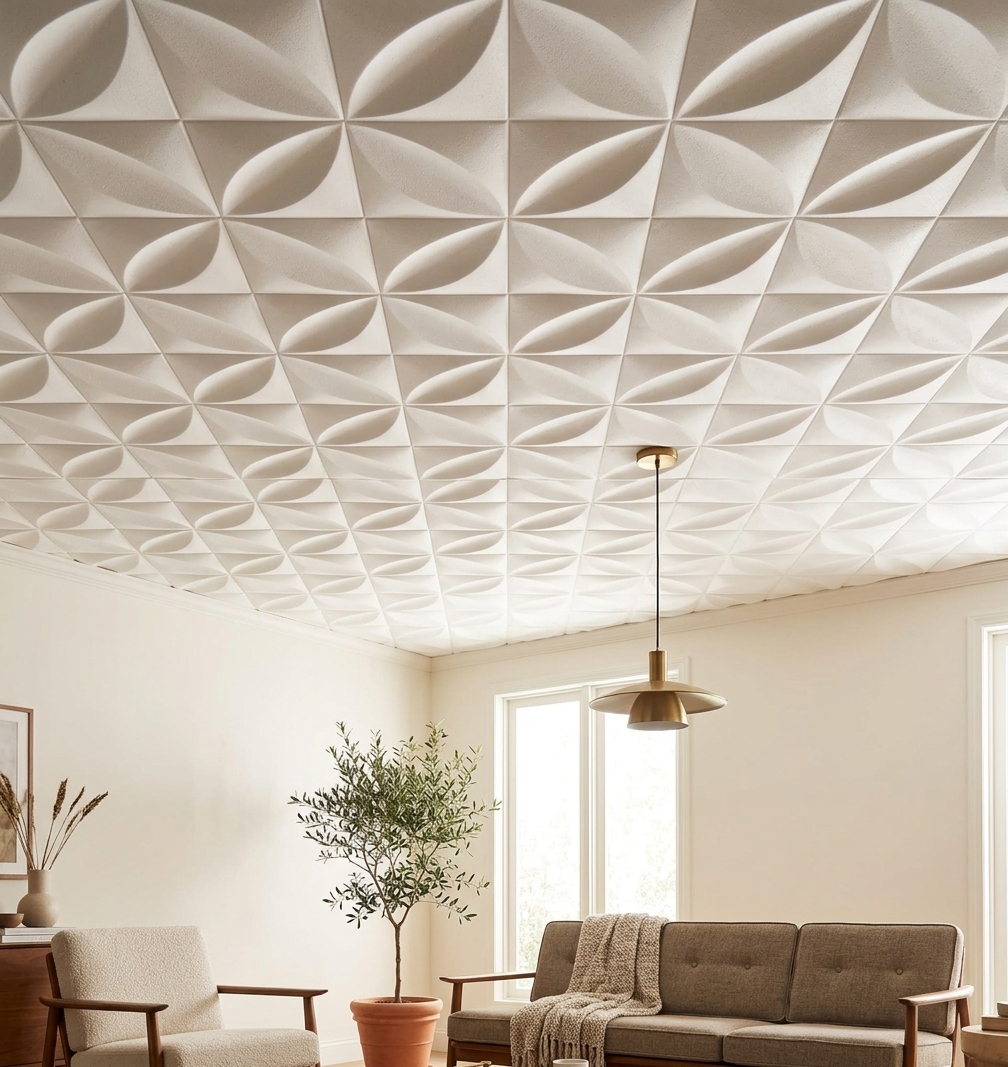
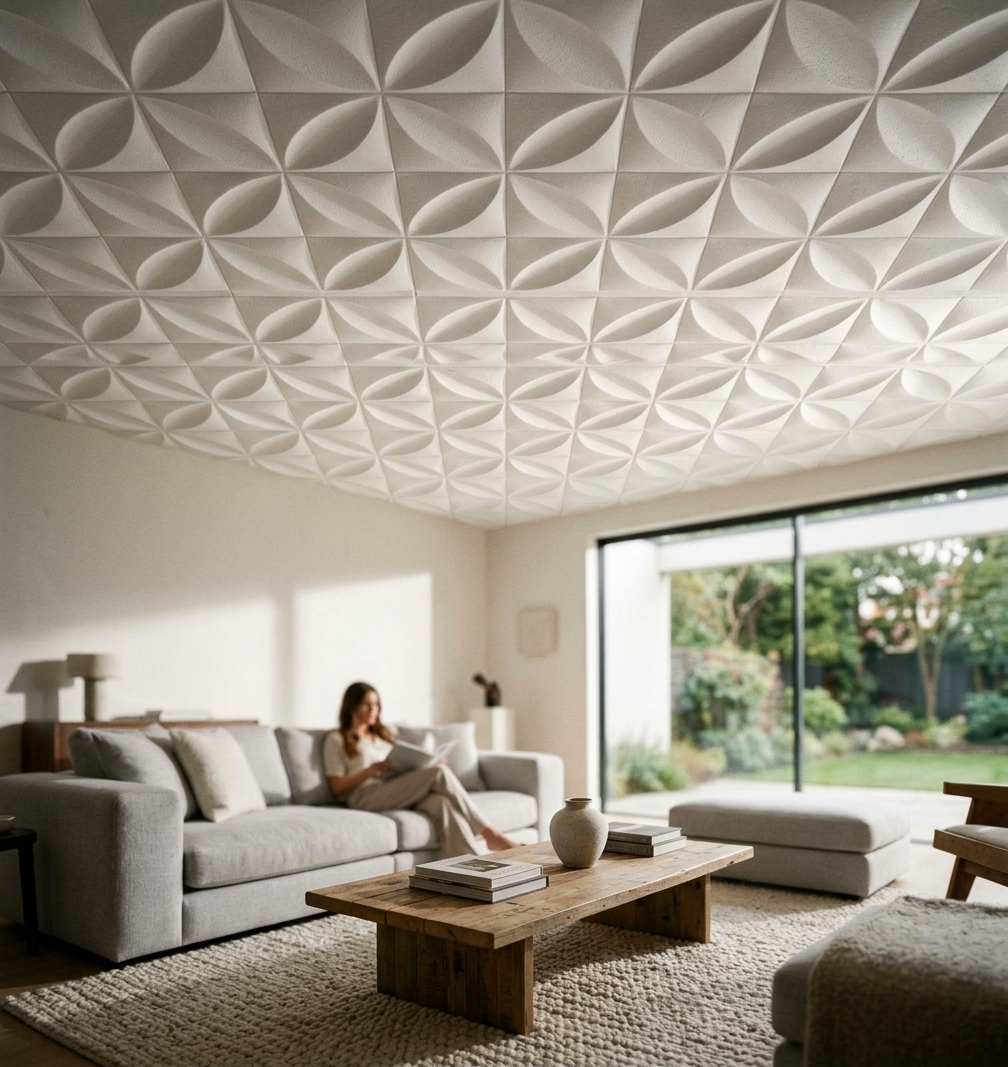
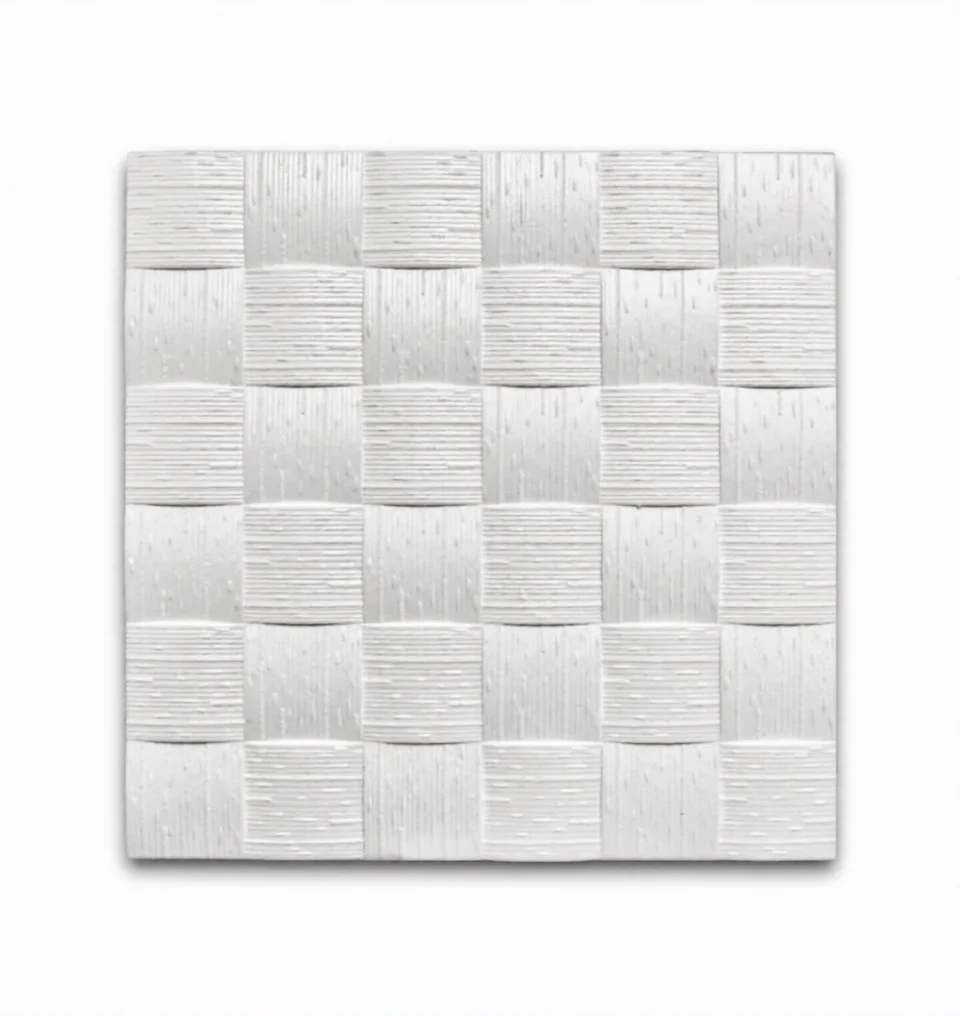
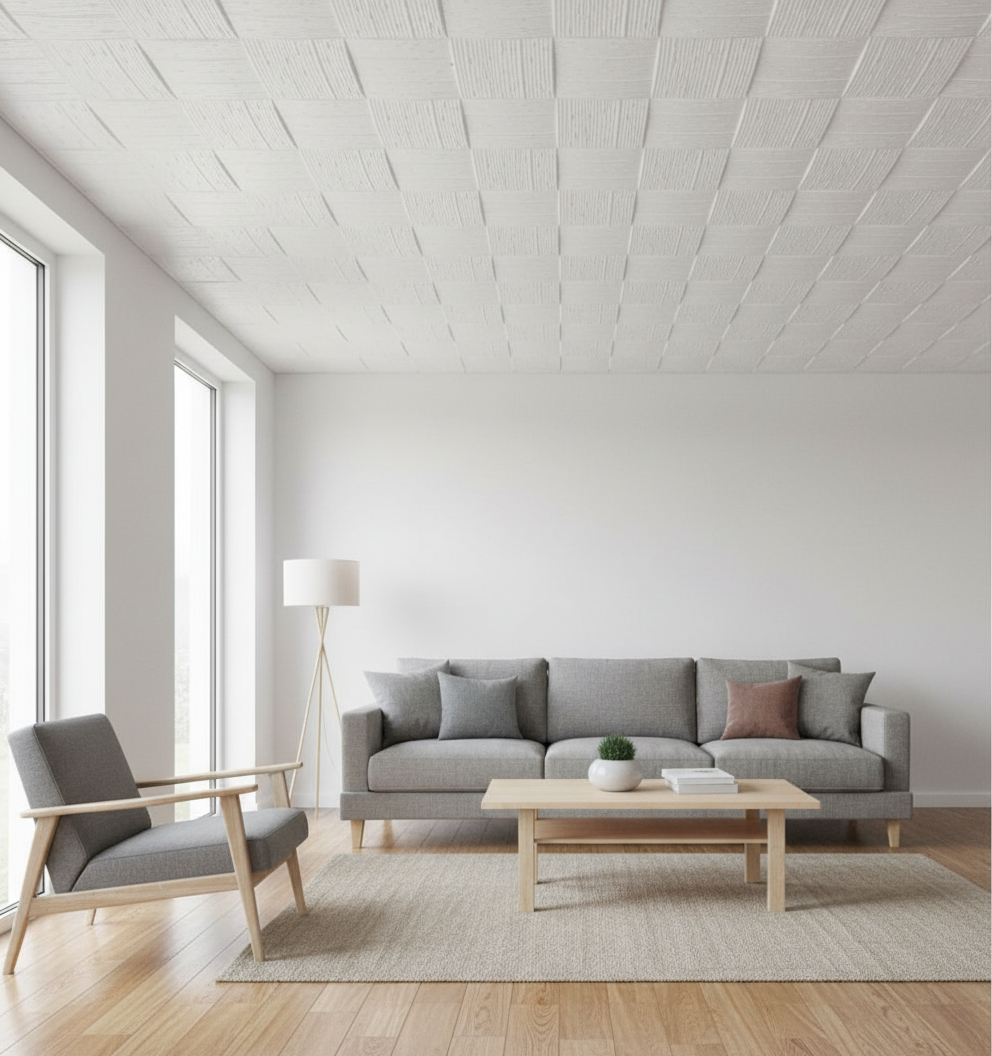
Styrofoam ceiling covering, also known popularly as foam ceiling or EPS ceiling panels, are lightweight decorative panels typically produced in standard sizes such as 50x50 cm or 60x60 cm. Made primarily from expanded polystyrene (EPS), these products create an aesthetic layer without adding extra load to the ceiling, thanks to their low-density structure. They have the potential to add different atmospheres to spaces with various pattern and texture options.
One of the main reasons these panels are preferred is their ability to quickly and economically conceal minor imperfections, cracks, or color differences in existing ceilings. They require significantly less labor and material compared to more extensive ceiling systems like gypsum board. Furthermore, their lightweight nature allows them to be directly adhered to the ceiling surface without the need for a supporting framework, greatly simplifying the application process.
Styrofoam ceiling coverings are an attractive option, especially for those seeking budget-friendly and quick solutions. Beyond their decorative purpose, due to the nature of EPS foam, they can also provide partial thermal and sound insulation comfort in the spaces where they are applied. With these features, they help to increase the overall comfort level of living areas.
What are the Advantages of Styrofoam Ceiling Covering for Spaces?
Styrofoam ceiling coverings have become a practical solution for homes and workplaces due to the various advantages they offer. One of their most prominent benefits is ease of application. They can be installed quickly, even with basic manual skills, without professional help. This allows you to save on labor costs and complete your project at your own pace.
Being economical is one of the strongest aspects of styrofoam ceiling covering. Compared to other ceiling decoration and insulation solutions, it is generally more affordable. This allows you to make a significant visual change in your spaces without straining your budget. Furthermore, its lightweight nature makes transportation and handling very easy, which contributes to reducing overall project costs.
In terms of thermal and sound insulation, while styrofoam panels are not a full-fledged insulation material, they do provide a certain level of comfort enhancement. The cellular structure of EPS foam slows down heat transfer and absorbs some sound waves due to its air pockets. This can particularly help to mitigate sounds coming from lower floors or external noise. However, for areas with high insulation expectations, additional solutions may need to be considered.
In Which Cases is the Use of Styrofoam Ceiling Covering Limited or Not Recommended?
While styrofoam ceiling covering offers several advantages, its areas and conditions of use are subject to certain limitations. Firstly, these products are generally for decorative purposes and do not have structural load-bearing capacity. Therefore, hanging heavy objects or applying additional load to them is strictly not recommended. They are designed solely to improve the aesthetics of the ceiling surface.
Wet areas are generally not suitable for styrofoam ceiling coverings. In areas with high humidity, such as bathrooms, toilets, or kitchens, the adhesive of the panels may weaken over time, leading to problems like mold growth or yellowing. Although EPS foam is water-resistant, moisture seeping between the panel and the ceiling or condensation formation can cause long-term issues. For such areas, moisture-resistant special ceiling covering solutions should be preferred.
Fire safety is also an important consideration. While styrofoam panels typically have a certain flammability rating (e.g., Class B1), they can melt or burn when in direct contact with open flames. Therefore, their use in areas directly above kitchen stoves or fireplaces, where they might be exposed to high heat, can be risky. Compliance with fire regulations and safety standards should always be taken into account.
What Surface Preparations Should Be Made Before Starting Styrofoam Ceiling Covering Application?
Surface preparation is critically important for the long-lasting and aesthetic appearance of styrofoam ceiling covering. As a first step, ensure that the ceiling surface is completely clean and dry. Old paint residues, dust, dirt, grease, or loose plaster particles should be removed with a spatula or brush. Rough spots and protrusions on the surface should be sanded smooth, and cracks should be filled with an appropriate filler.
The evenness of the surface is vital for the panels to adhere correctly and for the ceiling to look flawless. If there are significant level differences or deep depressions, these areas may need to be leveled with gypsum or a similar filler material. Panels applied to an uneven surface may sag over time or create noticeable gaps at the joints.
Once a clean and even surface is achieved, it is recommended to prime the ceiling with a primer. The primer balances the ceiling's absorbency, allowing the adhesive to bond better and can prevent the panels from yellowing over time. Especially on old, absorbent, or dusty surfaces, using a primer will significantly increase adhesive strength. The application process should begin only after ensuring the primer is completely dry.
What are the Most Suitable Adhesives and Cutting Techniques for Styrofoam Ceiling Covering?
Choosing the correct adhesive for styrofoam ceiling covering is fundamental for the success of the application. Generally, solvent-free, acrylic-based ceiling covering adhesives specifically formulated for styrofoam panels should be preferred. These adhesives do not damage EPS foam and provide a strong bond. Silicone-based or general-purpose mounting adhesives can also be used in some cases, but it is crucial to ensure the product is compatible with styrofoam. It is important to carefully read the manufacturer's instructions before applying the adhesive.
Using a sharp utility knife or craft knife is the most practical method for cutting panels. To make clean cuts, a metal ruler or a straight piece of wood should be used as a guide. Pressing lightly on the panel and making several light passes, rather than a single cut, yields cleaner and smoother results. Especially for corners and edges, taking precise measurements before cutting prevents the formation of gaps.
When holes need to be made in the panel for electrical outlets, lighting fixtures, or other ceiling protrusions, carefully take measurements beforehand, mark with a pencil, and then use a utility knife or an appropriate hole-cutting tool. Cuts should always be exact or slightly smaller, rather than slightly larger, to allow fixture covers to conceal the edges. Remember to take safety precautions and cut off the electricity when working with electrical installations.
How to Correctly Adhere and Arrange Styrofoam Ceiling Panels on the Ceiling?
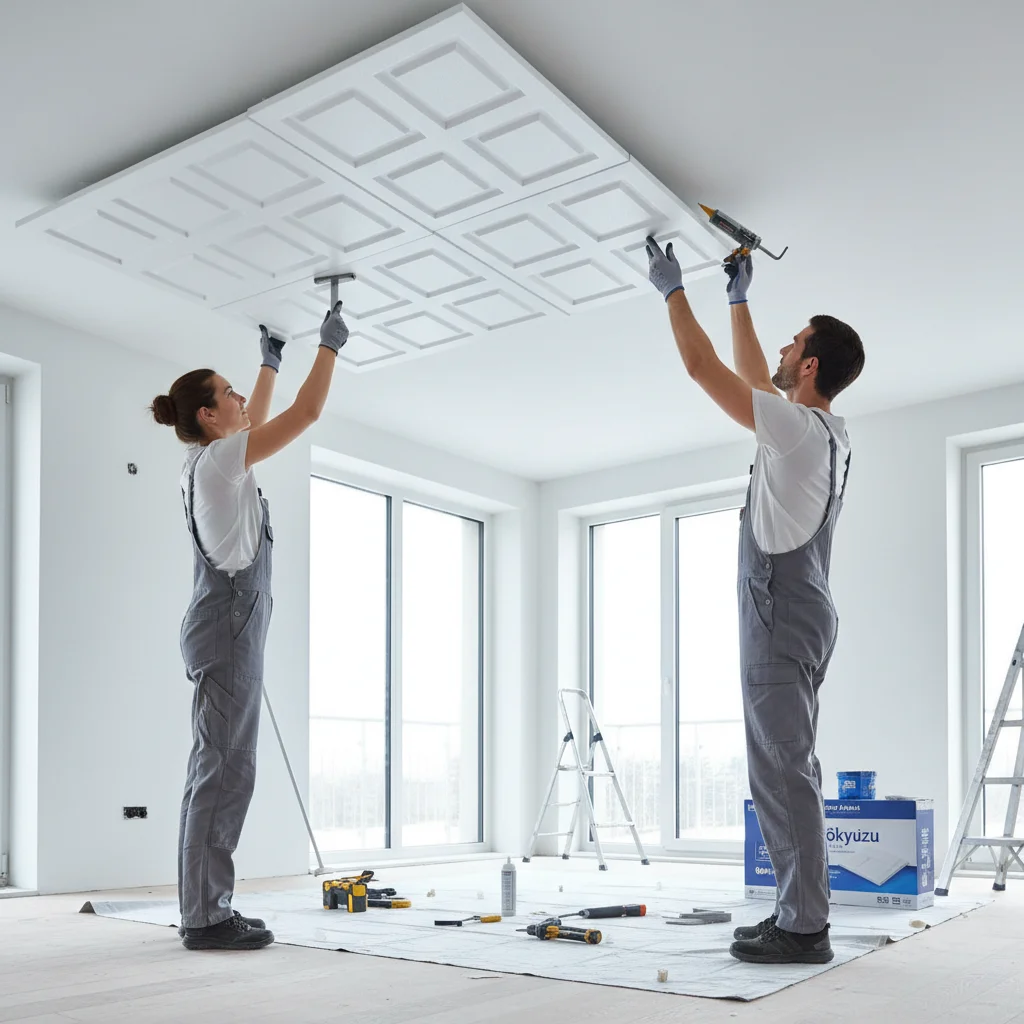
Correctly adhering and arranging styrofoam ceiling panels directly affects the overall appearance of the application. Before starting the application, it is important to find the center point of the ceiling and draw a starting line from there. Generally, starting from the center of the ceiling or the most visible corner to achieve a symmetrical arrangement provides a more aesthetic result. Planning the layout by dry-fitting the panels will prevent potential errors.
A spatula or notched trowel is typically used to apply the adhesive to the panel. The adhesive should be applied in small dots or thin strips along the four edges and center of the panel. Avoid using too much adhesive, as this will both prolong the drying time and may ooze out from the edges of the panels, compromising aesthetics. After applying the adhesive, carefully place the panel onto the ceiling.
After placing the panel on the ceiling, press lightly to ensure the adhesive firmly adheres to the ceiling surface. Carefully butt each panel tightly against the previous one, ensuring no gaps remain between them. If small gaps do form between panels, make a note to fill these later. Continuously checking for alignment during installation ensures the entire ceiling looks straight and aesthetic. Remember to take measurements for corner and edge panels before cutting.
- Surface Preparation: Clean, level, and prime the ceiling.
- Adhesive Selection: Use a solvent-free adhesive suitable for styrofoam panels.
- Cutting Techniques: Make precise cuts with a utility knife and metal ruler.
- Layout Plan: Create a symmetrical plan starting from the center of the ceiling.
- Adhesion: Apply adhesive in dots or strips to the panel and press onto the ceiling.
- Gap Control: Minimize gaps by tightly joining the panels.
What Finishing Touches Should Be Applied for Joints and Seams?
The final stage of styrofoam ceiling covering application involves finishing the joints and seams. Small gaps or seams that inevitably form between panels should be filled with a special filler compound. These fillers are typically acrylic-based, flexible, and paintable, and compatible with styrofoam. Carefully apply the compound to the seams with a thin spatula or fingertip and wipe away any excess with a damp cloth.
After the filler compound dries, the panels can be painted to improve the overall appearance of the ceiling. Water-based, acrylic, or latex paints should be preferred for styrofoam panels. Solvent-based paints can damage or melt the styrofoam foam. Painting makes the ceiling look more cohesive and smooth, while also extending the life of the panels and making them easier to clean. A roller or brush can be used for paint application.
Once the painting process is complete, your ceiling covering is ready for use. These final touches ensure your ceiling achieves a professional and aesthetic appearance. You can clean it regularly by wiping with a damp cloth, thus maintaining its original look for a long time. Remember, proper finishing processes ensure your styrofoam ceiling covering is not only functional but also visually satisfying.
Is Styrofoam Ceiling Covering Application Suitable for DIY?
Styrofoam ceiling covering application is generally quite suitable for DIY (Do It Yourself) projects. Anyone with basic hand tools and the ability to follow simple instructions can successfully carry out this application. Working with lightweight materials, not requiring a special support system, and being relatively quick to complete make it attractive for DIY enthusiasts. However, some important points need to be considered.
The basic tools required for the application include a utility knife, metal ruler, measuring tape, pencil, spatula or notched trowel, and a ladder. Most of these tools are already found in homes or can be easily acquired. Care and patience during the process are crucial, especially during the cutting and arrangement phases. Hasty actions can lead to incorrect cuts or crooked arrangements.
If your ceiling is very high, covers a large area, or contains many complex corners and protrusions, it might be more sensible to seek professional help. However, for an average room ceiling, with proper preparation and steps, a styrofoam ceiling covering project offers a pleasant and rewarding experience that you can tackle on your own. You can start your project right away by obtaining all necessary materials and panels from our store.
Related guides: What is a Suspended Ceiling? Types, Materials, and Uses, 7 Factors Affecting Suspended Ceiling m² Price (2026 Guide), PVC Suspended Ceiling or Gypsum Board Suspended Ceiling? A Comparison. For product options for your project, you can review our Styrofoam Covering products or for turnkey application, our styrofoam covering service page.