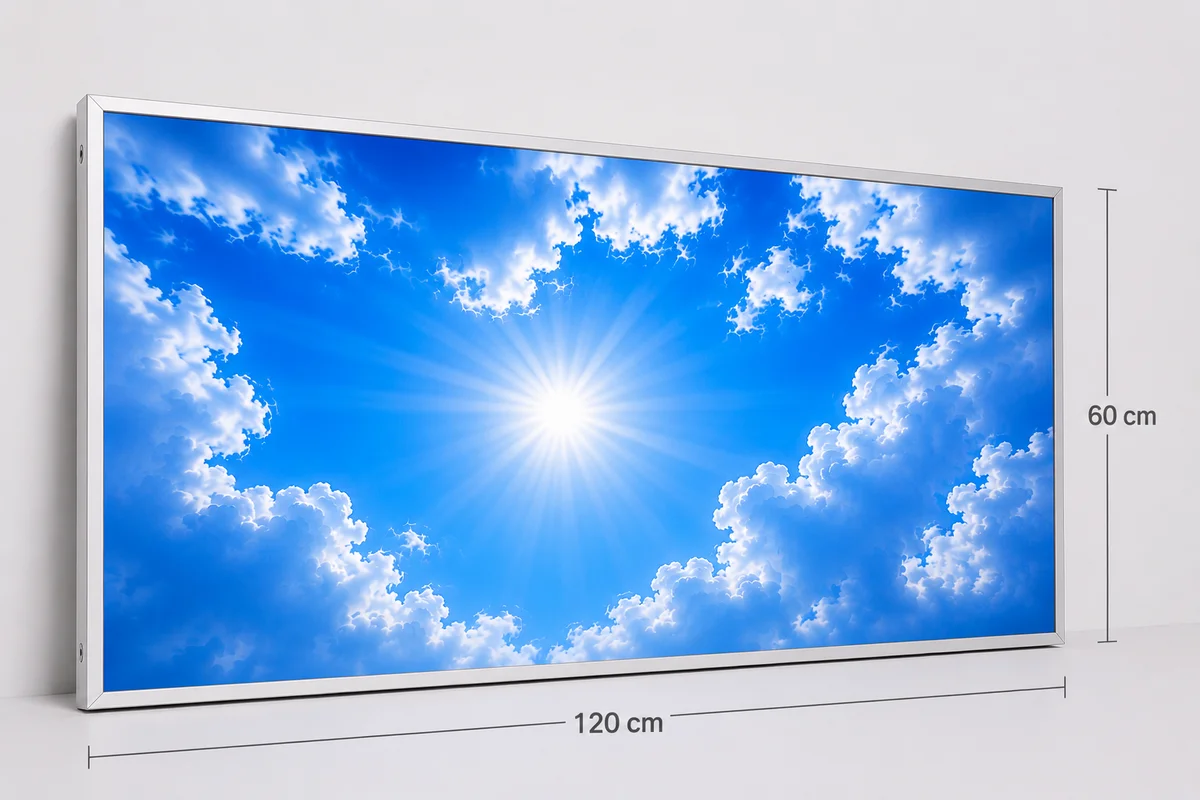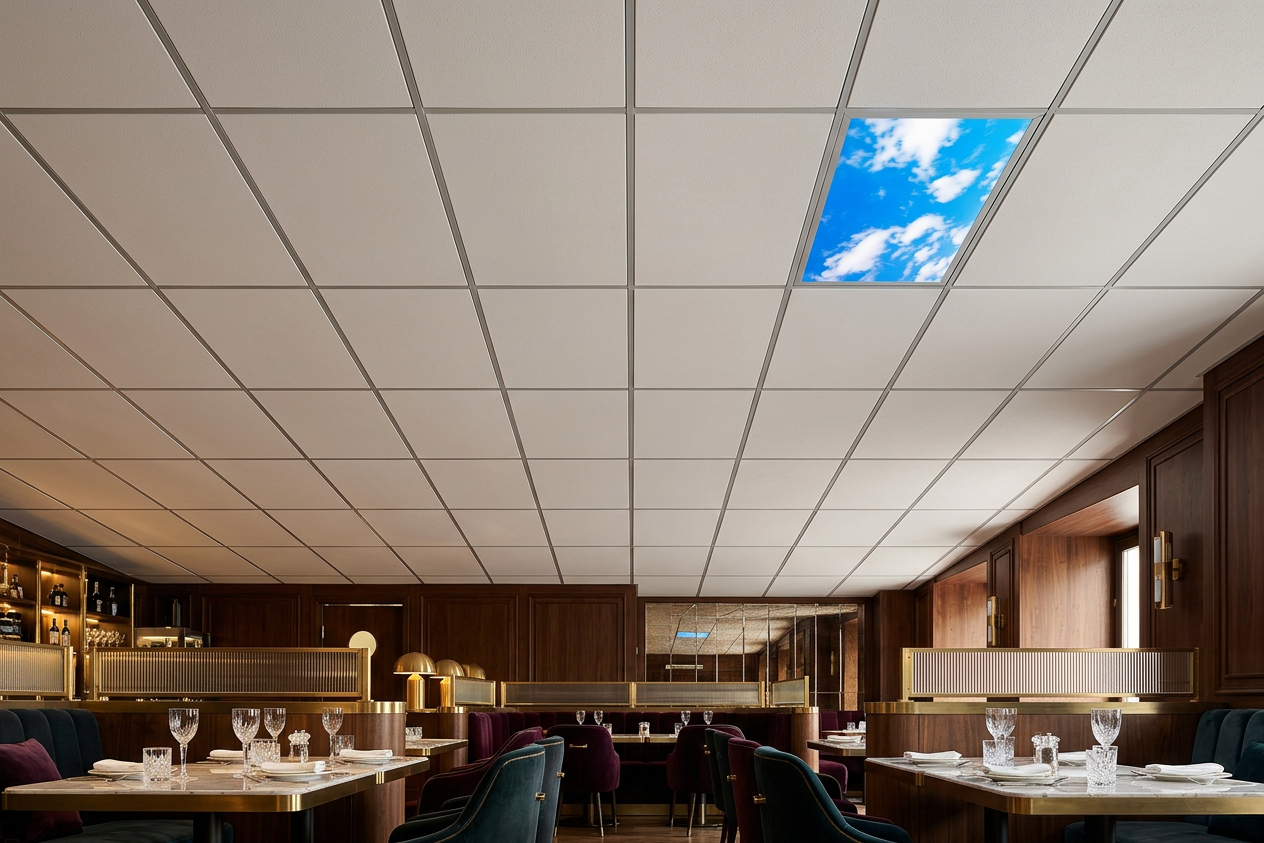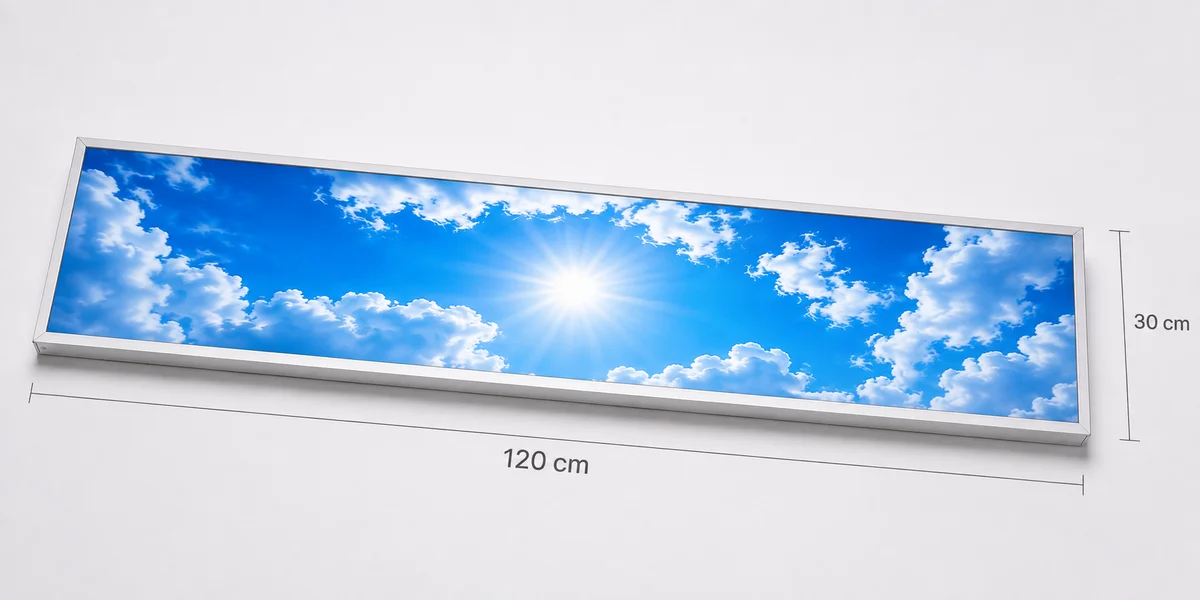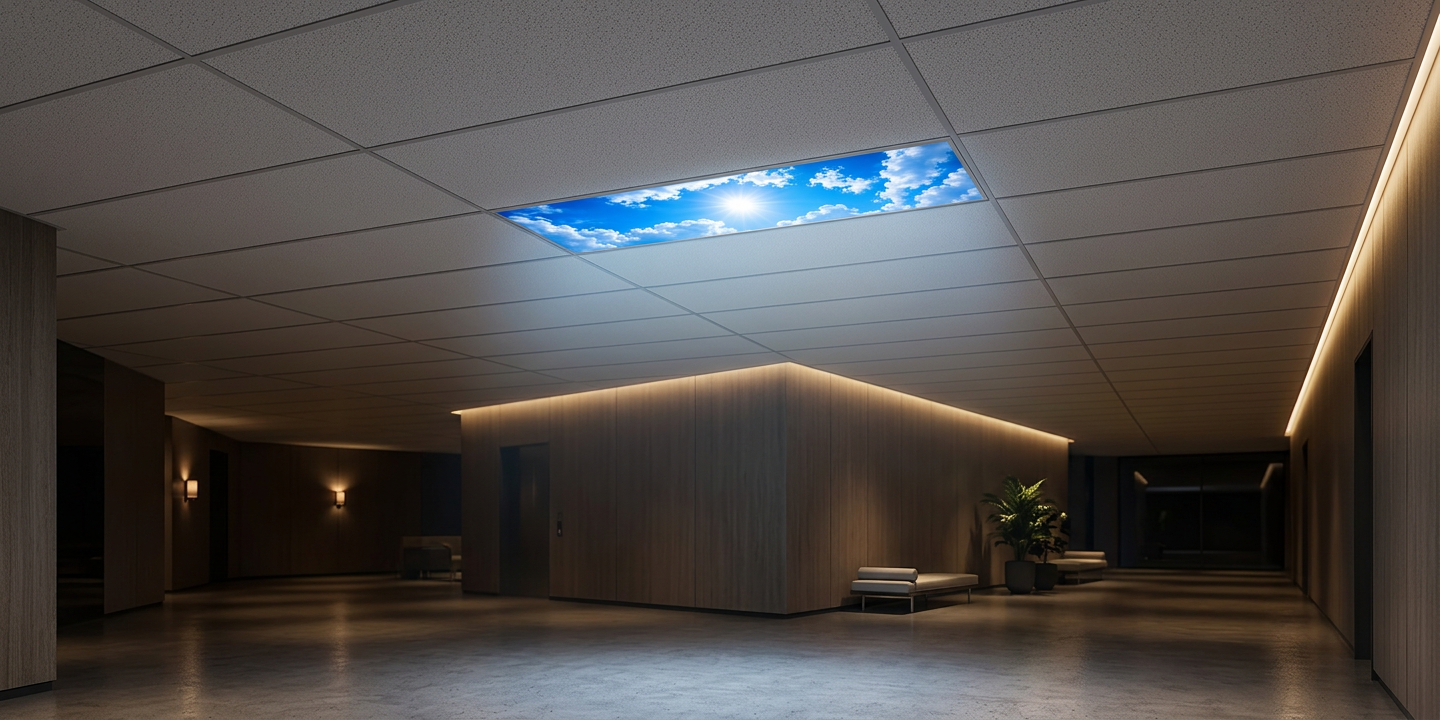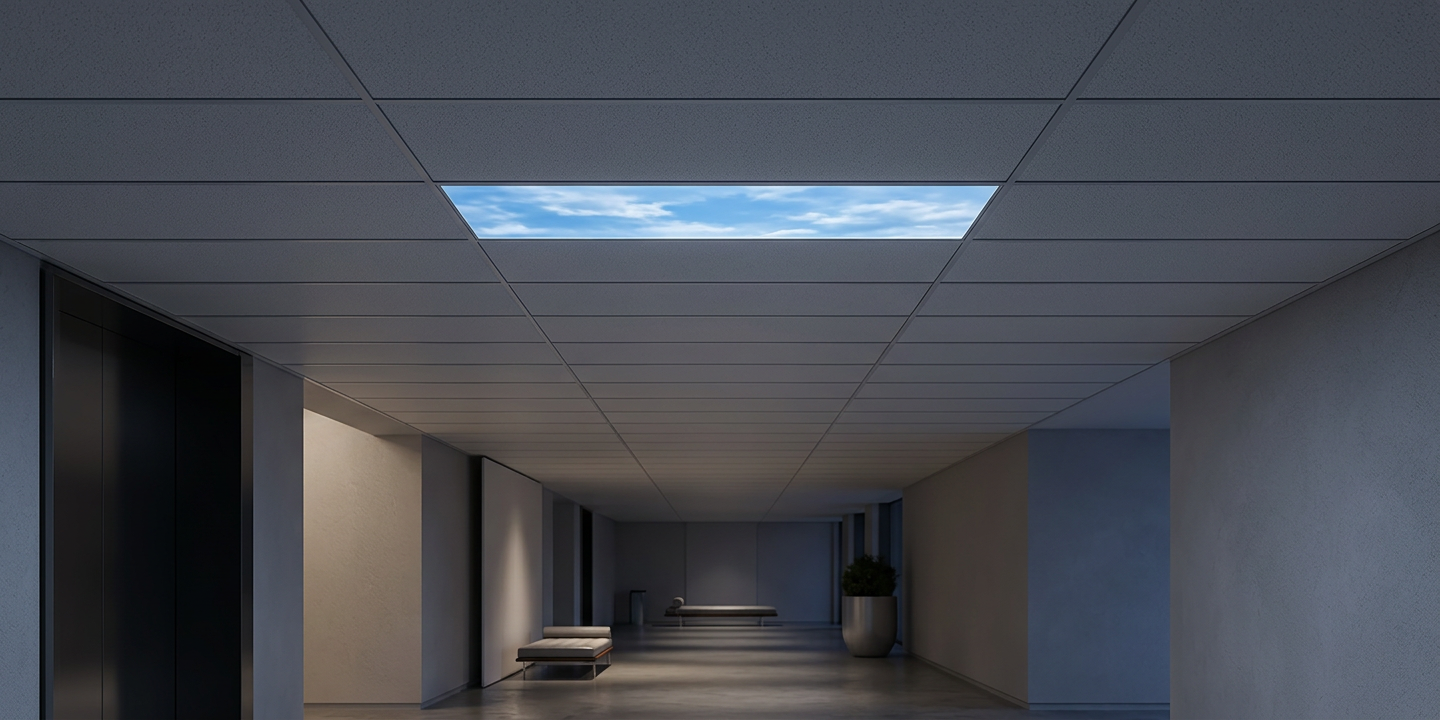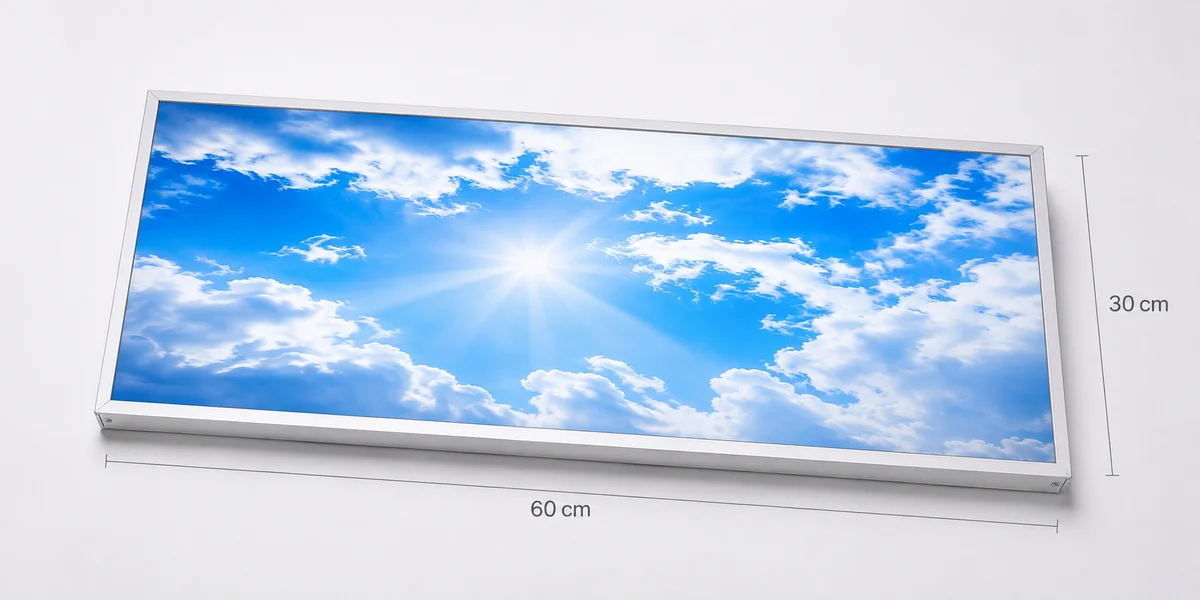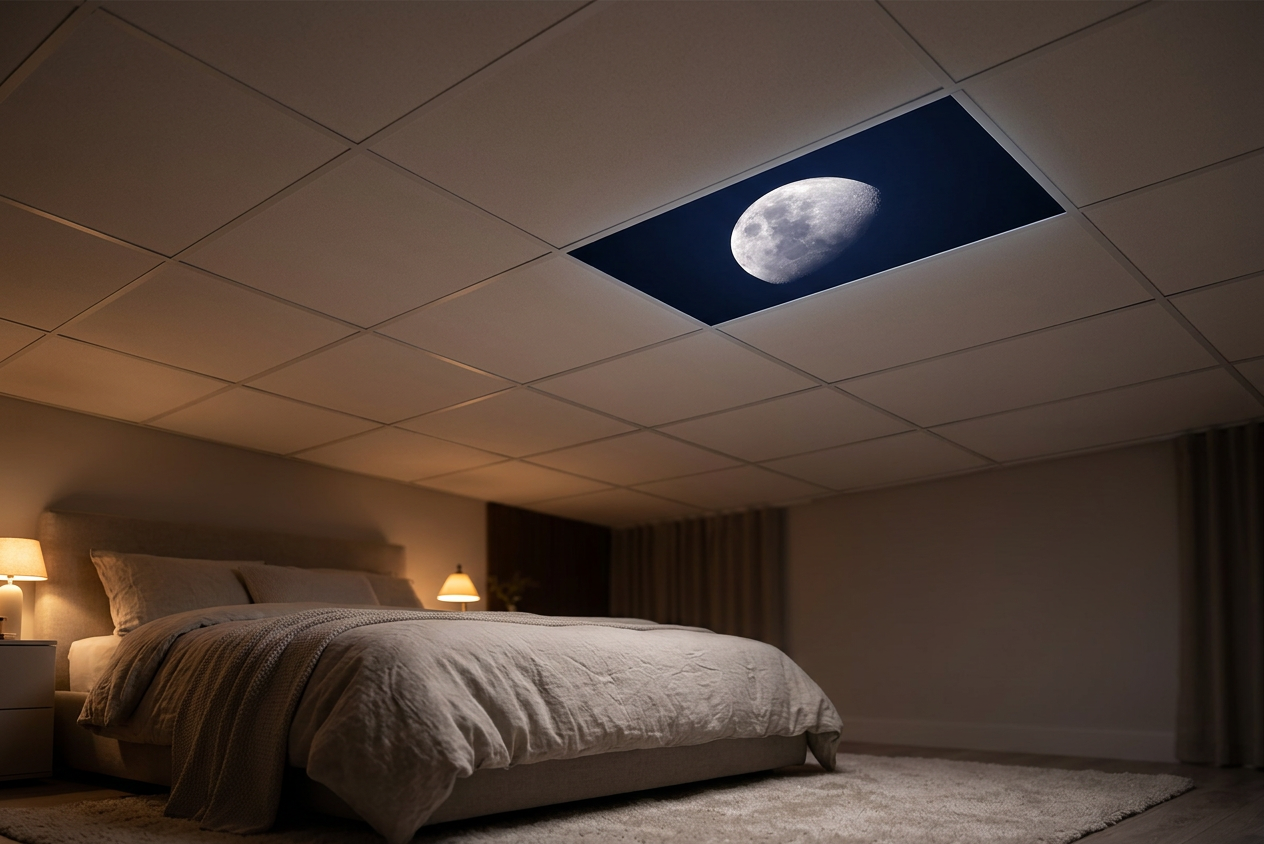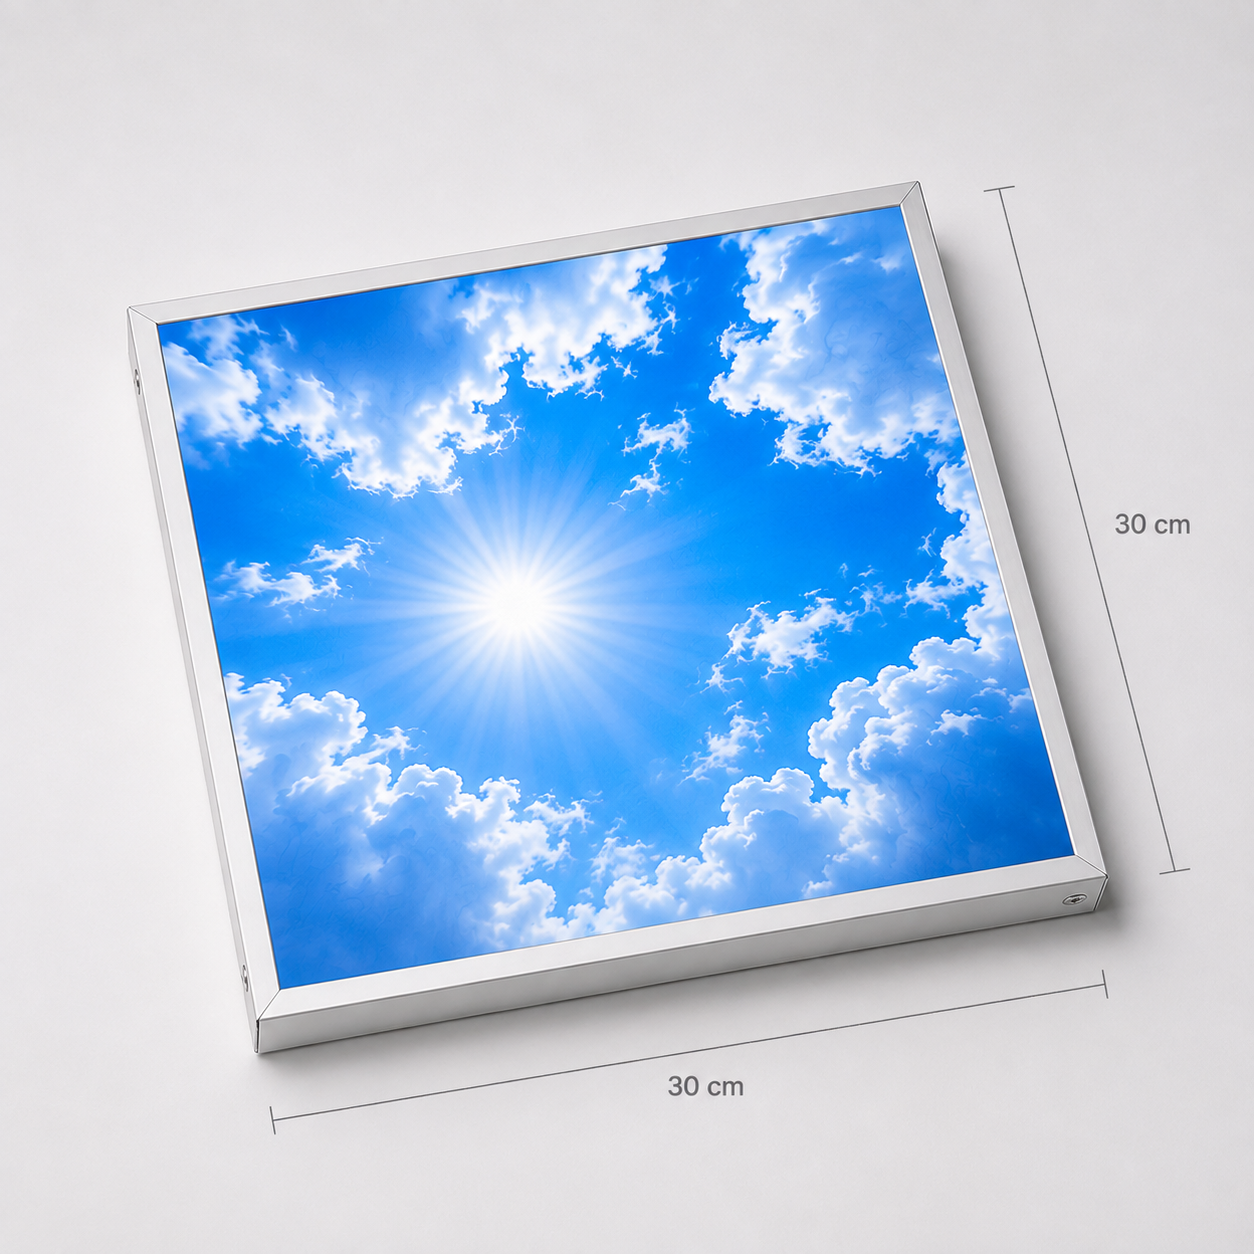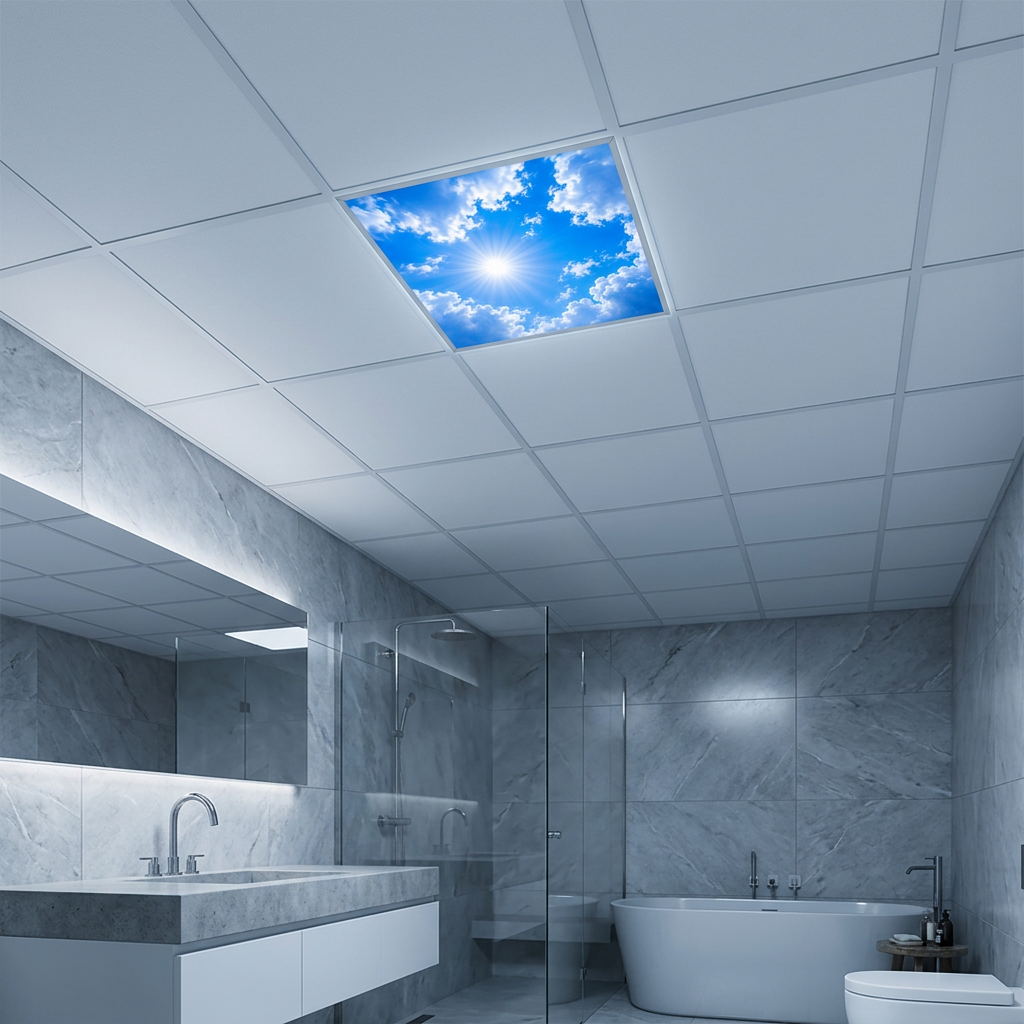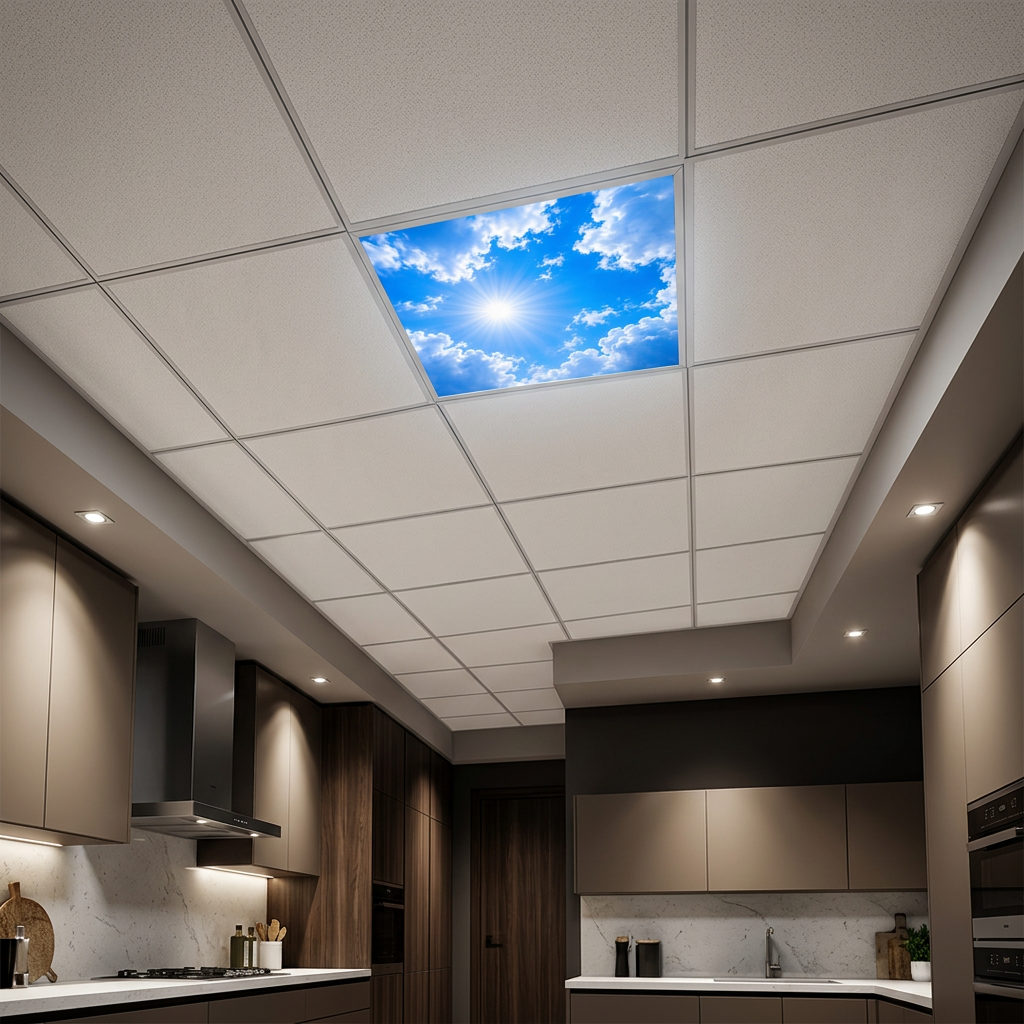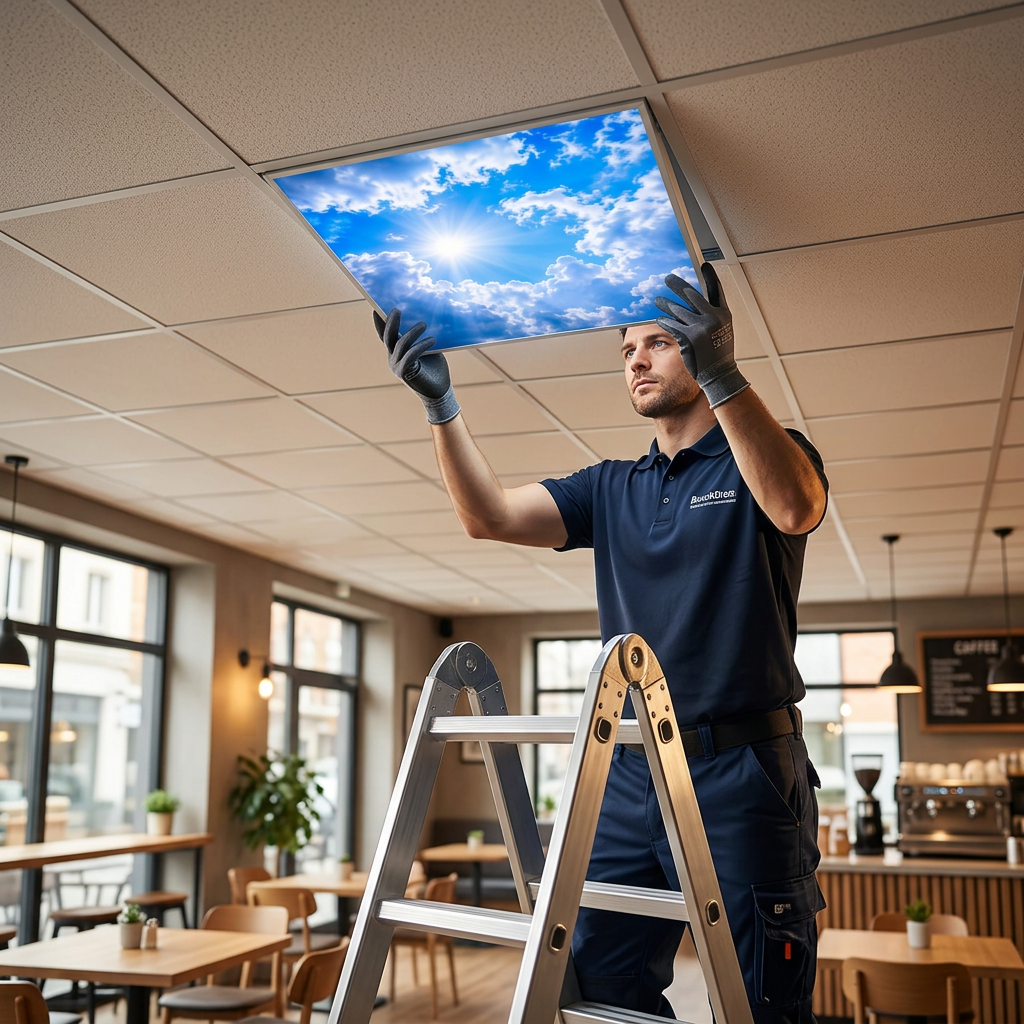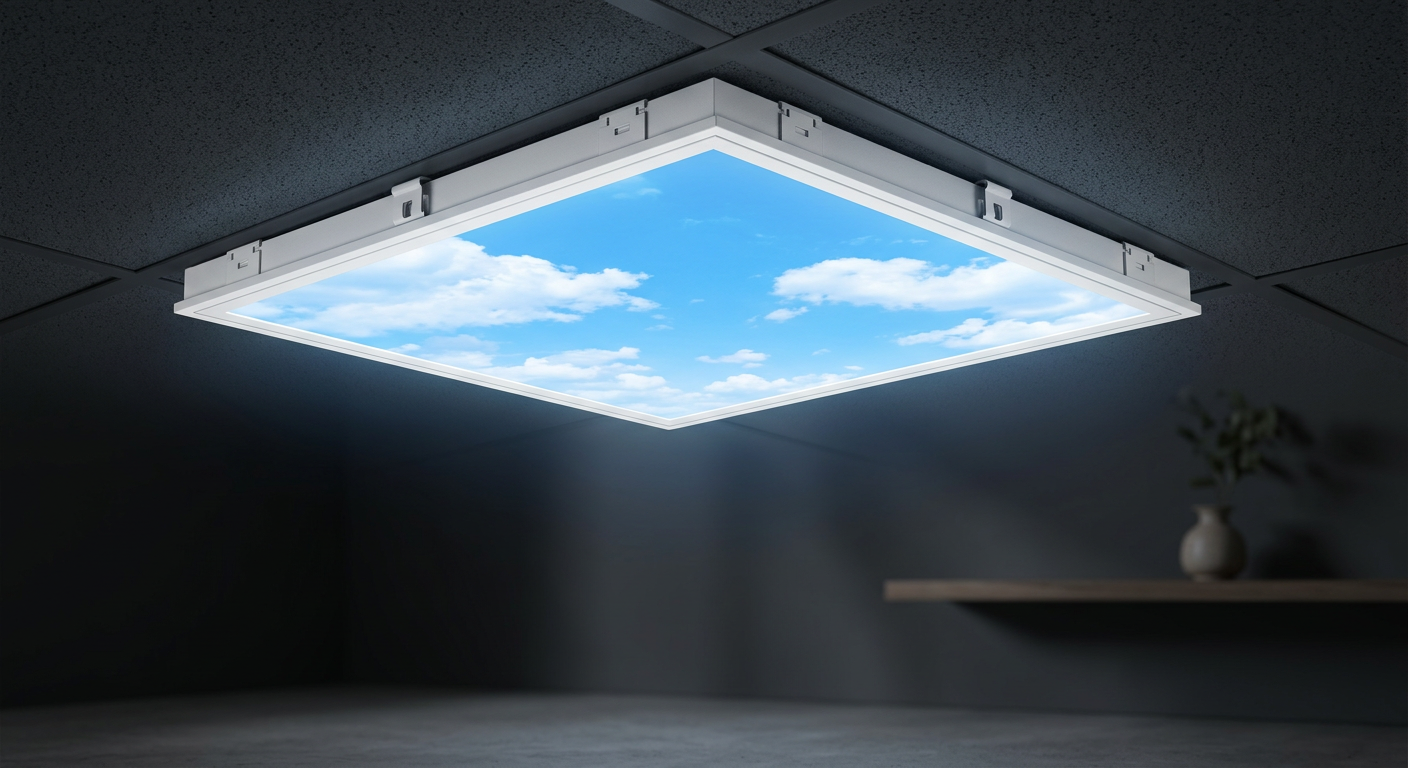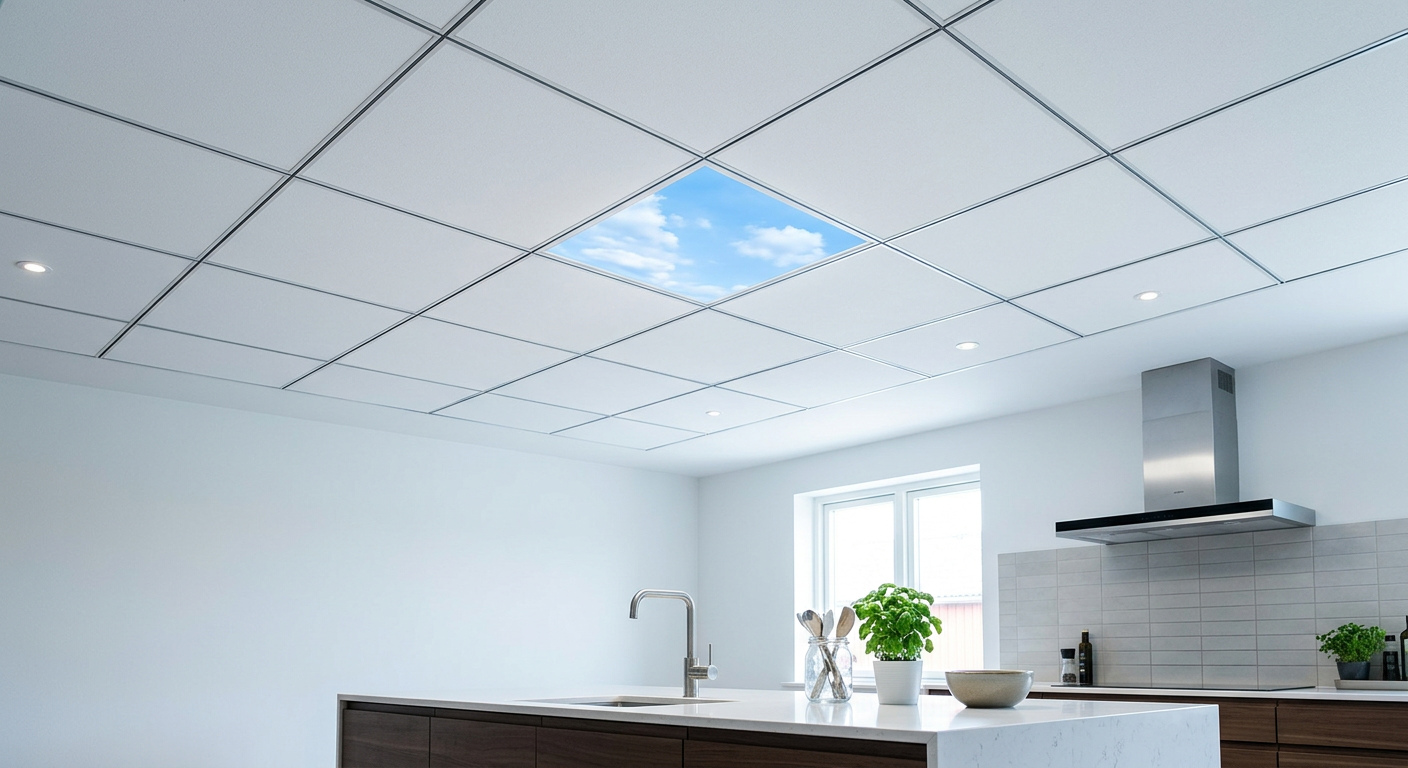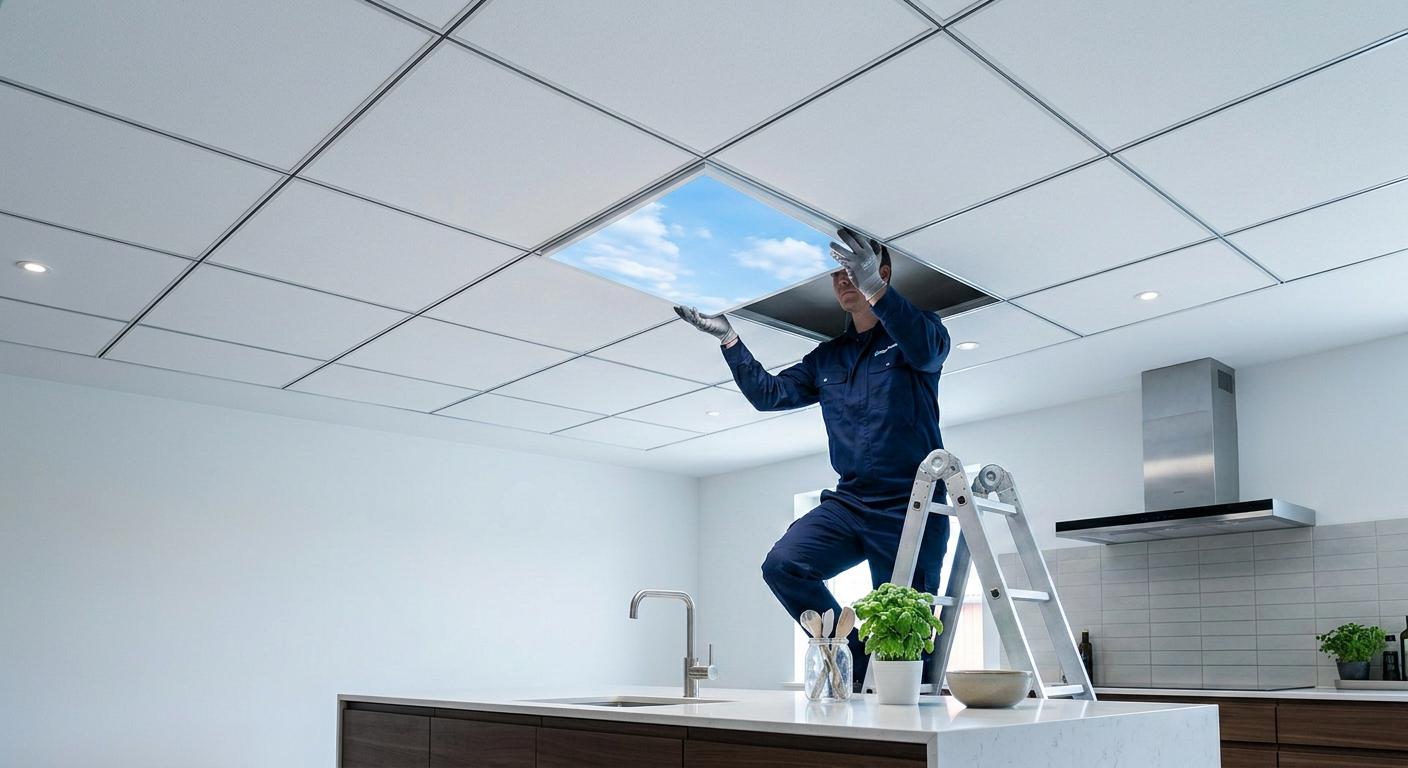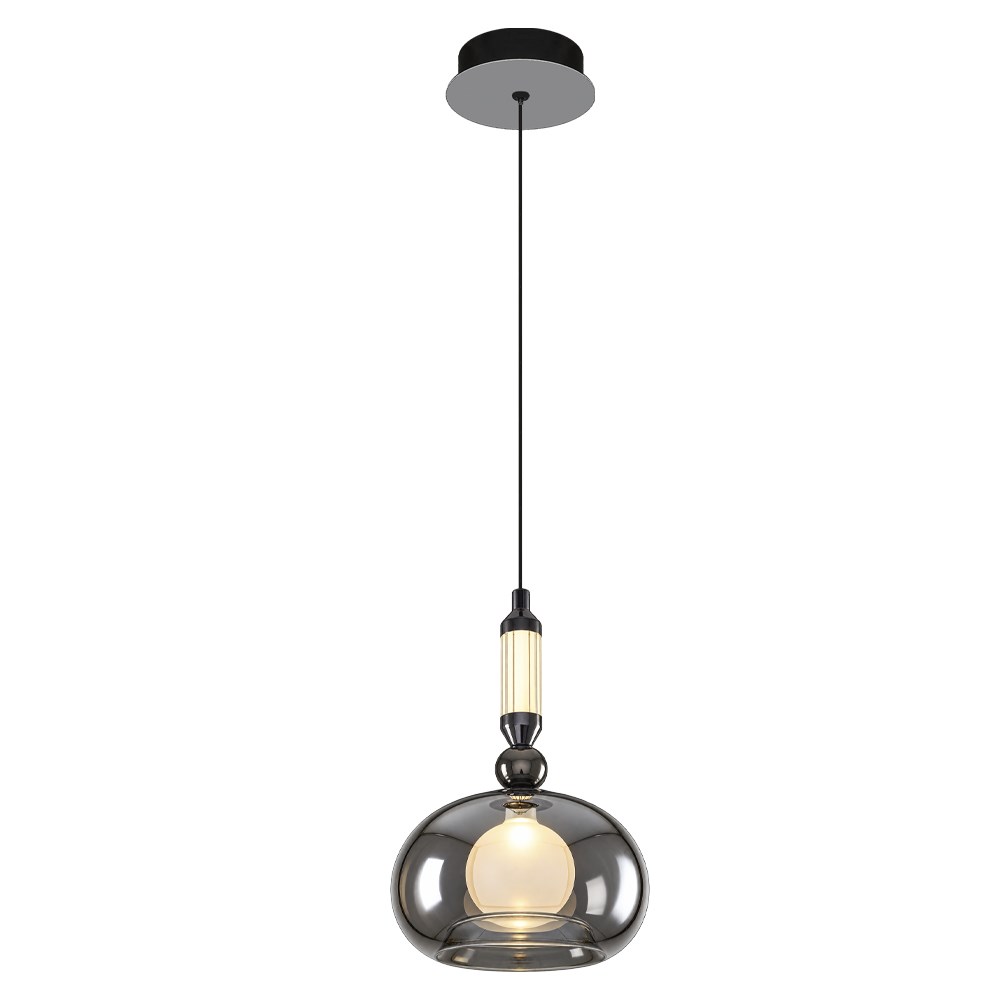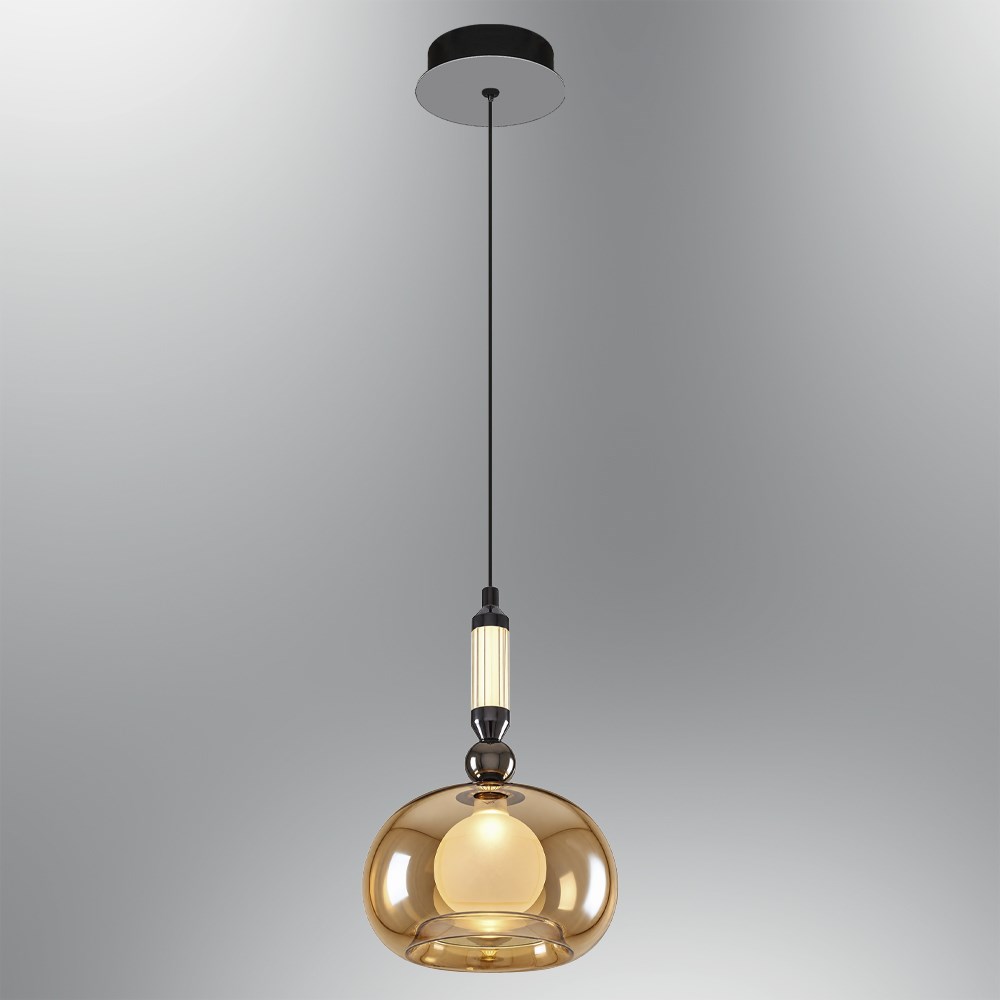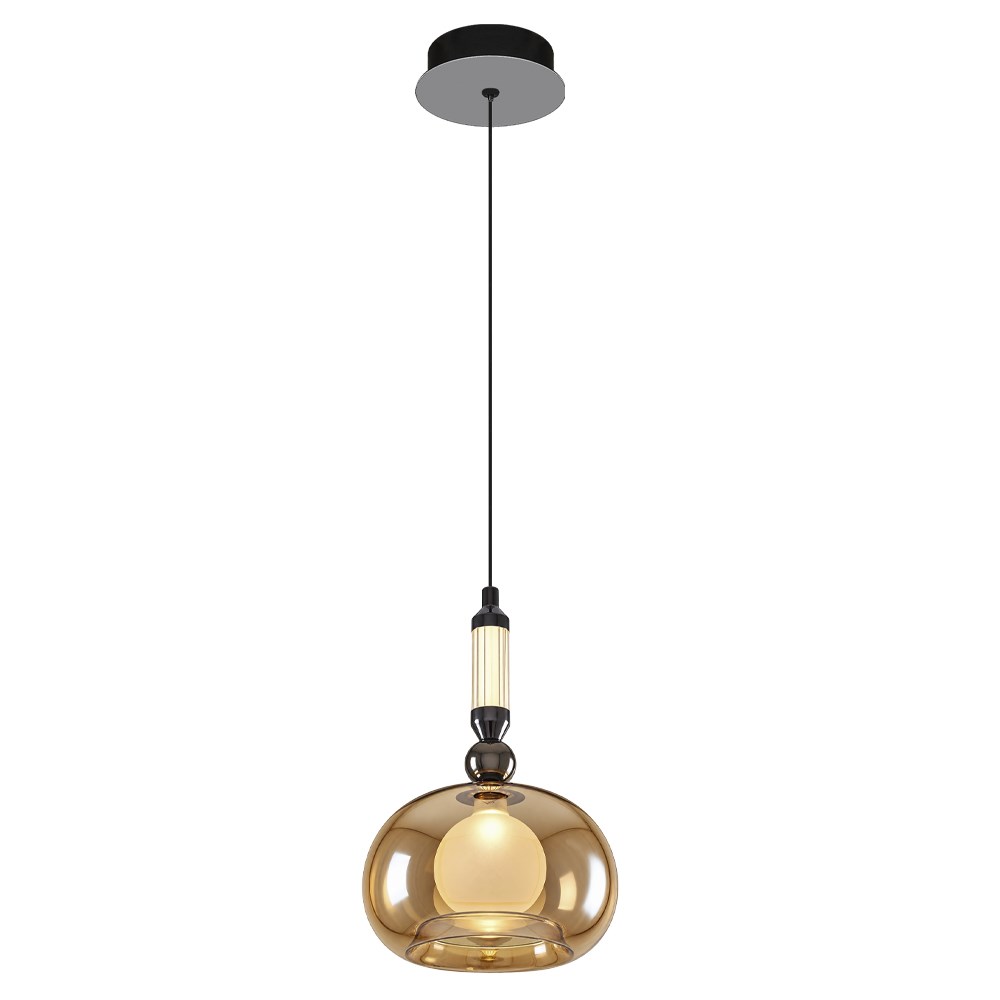
A clip-in cloud ceiling panel is the clip-in framed version of our backlit LED panel printed with a realistic blue sky and clouds. The panel does not simply rest on the suspended ceiling grid; with its clip-in frame it clips in and locks, and once seated it cannot fall out. In this article you will find what a clip-in cloud ceiling panel is, how it differs from the classic T24 lay-in panel, how it is installed and which spaces it suits.
What is a clip-in cloud ceiling panel?
The panel we sell is a complete light fitting: its LEDs, driver and UV-printed light-transmitting diffuser are combined in a single body. It is not metal or perforated; the light passes through an unperforated diffuser surface and produces a photographic sky effect. The "clip-in" part is the aluminium clip-in frame fitted around the panel, which secures it by clipping into a standard T24 module suspended ceiling grid.
Clip-in versus T24 (lay-in): the difference
The panel is the same in both products; the difference is in the mounting method:
| Feature | Lay-In (T24) | Clip-In |
|---|---|---|
| How the panel sits | Rests loosely in the grid, lifts out by hand | Clips in and locks with its frame |
| Falling / safety | Can be lifted out, may shift in a draught | Cannot fall; safe for high ceilings and public areas |
| Appearance | The thin metal grid stays visible | The grid is still visible; the panel sits perfectly flush |
| Access | Very easy (lift by hand) | Locked; a simple tool is enough to remove it |
| Who installs it | Ceiling fitter or yourself | Yourself or your electrician |
Why choose a clip-in cloud ceiling panel?
- It locks and cannot fall: because the frame secures the panel, it is used safely in high ceilings, corridors, shops and entrance areas.
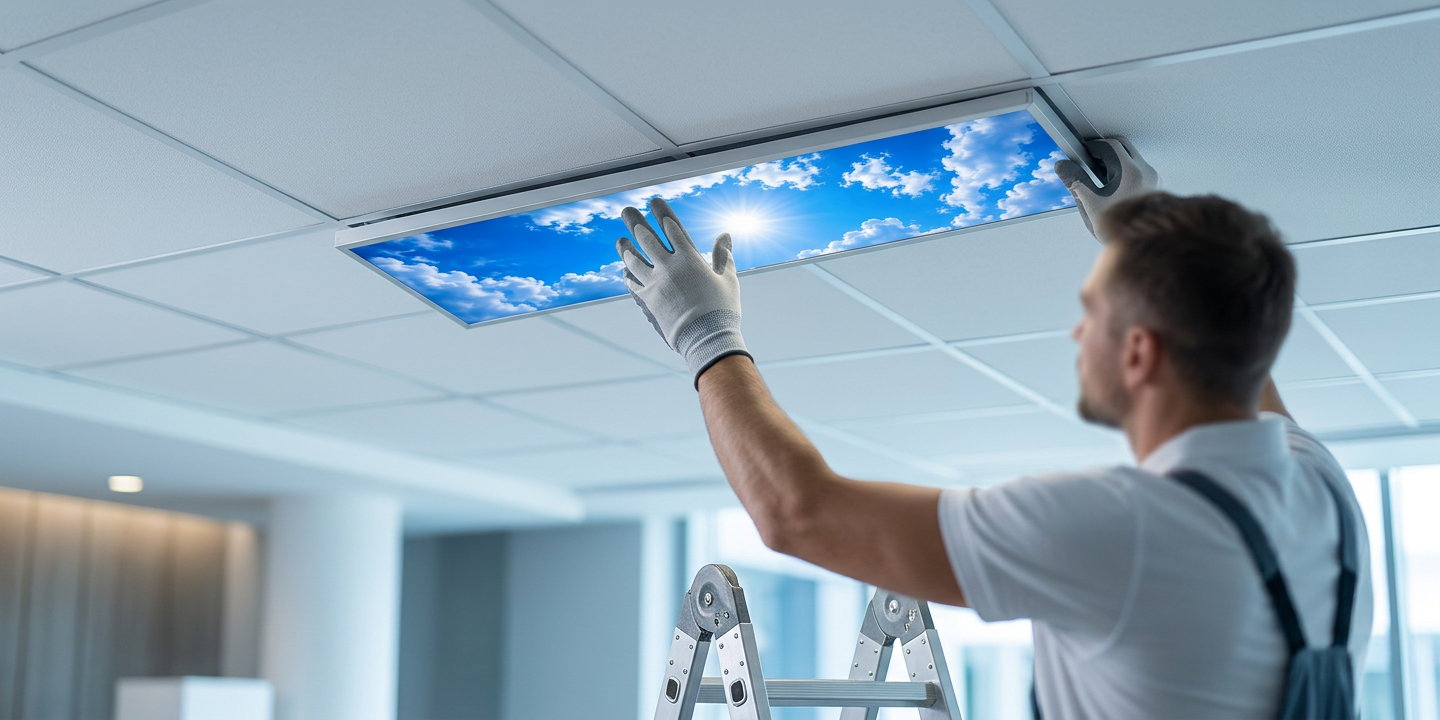
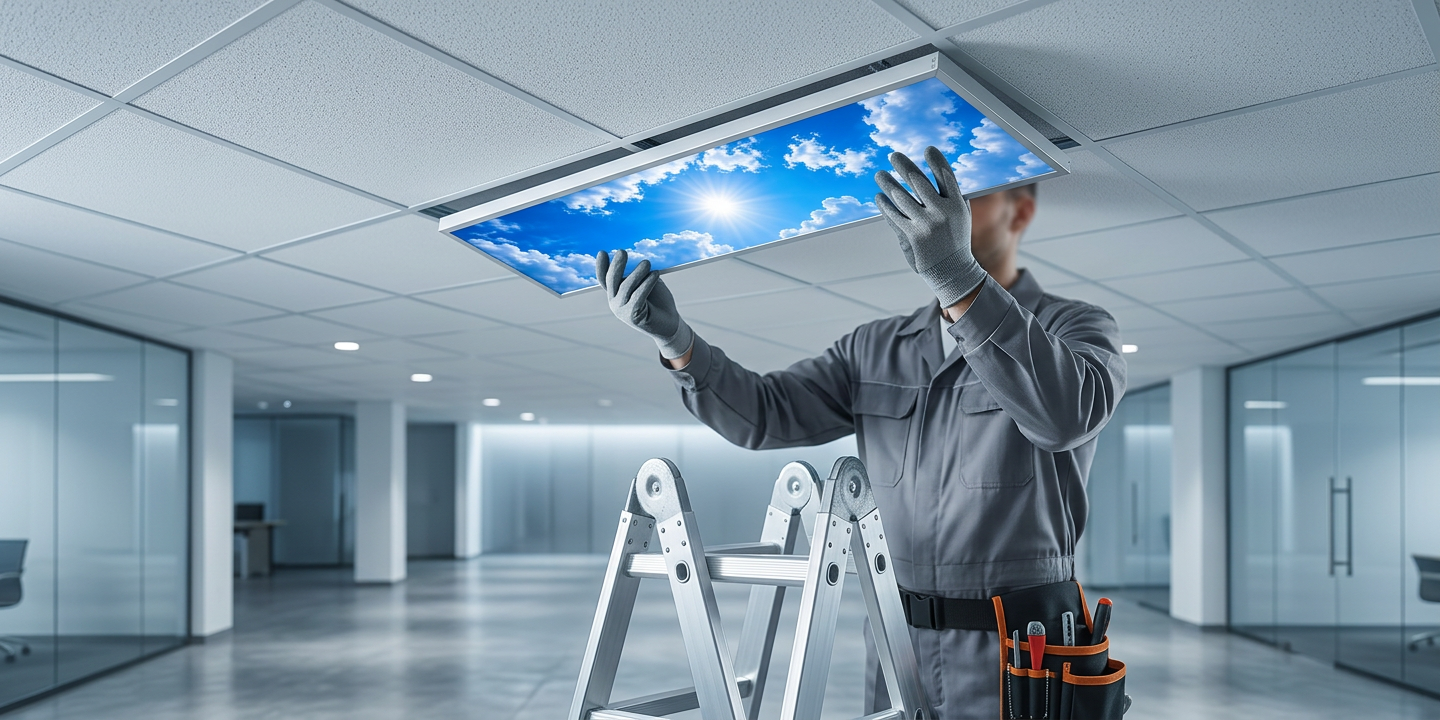
- You can install it yourself: it is a dry installation with no mortar or plaster; you fit the panel into the opening with its clip-in frame and connect the mains supply.
- Fits the T24 module: it seats into an existing or newly built standard suspended ceiling grid.
- The same sky effect: exactly the same HD sky and cloud print and backlit illumination as the lay-in model.
How is a clip-in cloud ceiling panel installed?
- The standard T24 suspended ceiling grid (main runners plus cross tees) is set up perfectly level.
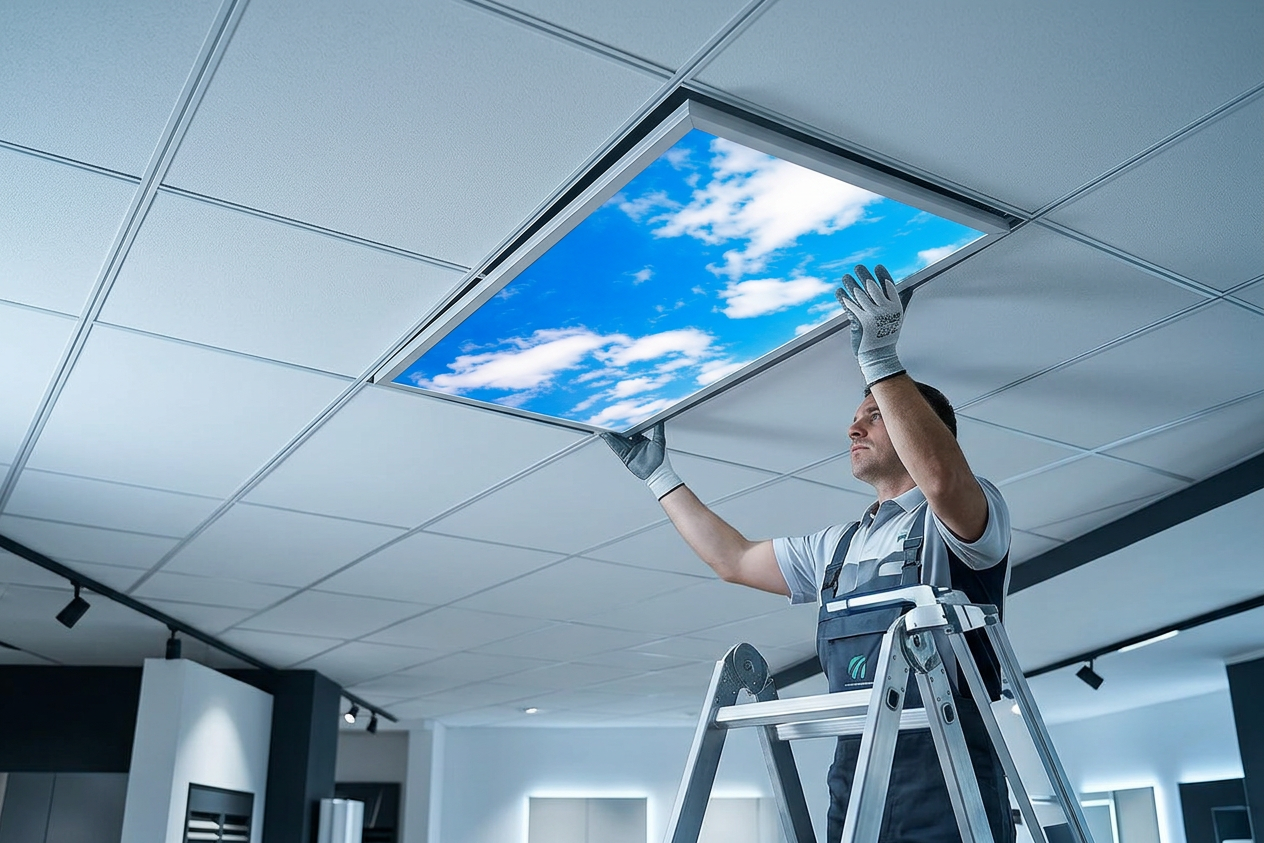
- The cloud panel is fitted into its opening from below with the clip-in frame and clipped in place; it sits perfectly flush with the neighbouring tiles.
- The mains supply (220–240 V) is connected to the panel driver (terminal block or plug) and the panel is switched on.
Each panel needs its own electrical feed, so the supply must already be in place in the ceiling void. When removal is needed, the panel is released by pulling it down gently with a simple tool.
Which sizes and which spaces?
The clip-in cloud ceiling panel is produced in several sizes, 60x60 above all. In offices, shops, clinics, hotels, restaurants and homes it gives the ceiling a realistic, opening-up sky effect. With the layout (combination) options, several panels can be placed side by side to build one large sky composition.
Related guides: LED Sky Panels: What Are the Different Sizes and Mounting Options?, Sky Ceiling Panel Types and the Right Model Selection Guide, 30x30 Metal Clip-in Suspended Ceiling Panel Prices.
The structural difference between a clip-in ceiling system and a T24 grid
Clip-in and T24 determine not only how the panel is held but also the load-bearing skeleton of the ceiling. In a T24 system the T-profiles, 24 mm wide, are visible from below and the tiles rest freely on them; the ceiling reads as a grid. In a clip-in system the carrier profile is concealed: the tile is pushed up into the profile by the folds at its edges and locks in place, and the ceiling looks like a continuous surface without joints. The difference is functional as much as aesthetic — a concealed carrier reduces dust settling on the profile and makes cleaning easier.
For a sky panel the practical consequence is this: if your existing ceiling is a T24 grid, a panel with a clip-in frame works by clipping into that grid; if your ceiling is already a clip-in system, the panel seats directly into it. If you are building a new ceiling, the number and positions of the panels should be decided while the grid plan is drawn, because moving them later can mean cutting profiles.
To estimate roughly how many panels you need, it is enough to divide the ceiling into grid cells. On a ceiling of 60x60 cells a room of 20 m² comes to about 55 cells; turning six to nine of them into sky panels gives the sense of openness without overstating it. Making the whole ceiling a panel raises both the cost and the brightness unnecessarily.
Maintenance, removal and long service life
Maintaining a clip-in sky panel amounts to keeping its surface free of dust. Wiping it every six months with a dry or lightly damp microfibre cloth preserves the clarity of the image. Abrasive chemicals, thinners and alcohol-based cleaners should not be used, as they dull the acrylic surface.
To remove a panel, a small suction cup or a plastic removal tool is applied to its edge; pulling the panel downwards releases the clips. The panel should not be lowered fully before the electrical connection is disconnected. If the driver fails, only the driver is replaced rather than the whole panel, which is why noting the driver's model details at purchase makes finding a spare years later far easier.
The light source of a quality LED sky panel lasts an average of 50,000 hours; at 10 hours of use per day that corresponds to roughly 13 years. What shortens that life is not the LED but heat: a few centimetres of air space should be left behind the panel, and the driver should never be buried in insulation material.